


![Request for Information – Potential [Placeholder for Prize]](https://assets.science.nasa.gov/dynamicimage/assets/science/psd/solar/2023/09/s/solarsystem_0.jpg?w=1024)


Flight Opportunities
Lessons Learned Library
Getting Ready to Fly: Step-by-Step Suggestions
In addition to general advice for getting involved with the Flight Opportunities program, the following are key best practices at specific stages of the Flight Opportunities process. In some cases, a link is provided where you can hear more about the suggestion from the relevant Community of Practice webinar. Follow the links below to jump to that stage in the process.
Explore the Community of Practice webinars about Getting Ready to Fly: Step-by-Step Suggestions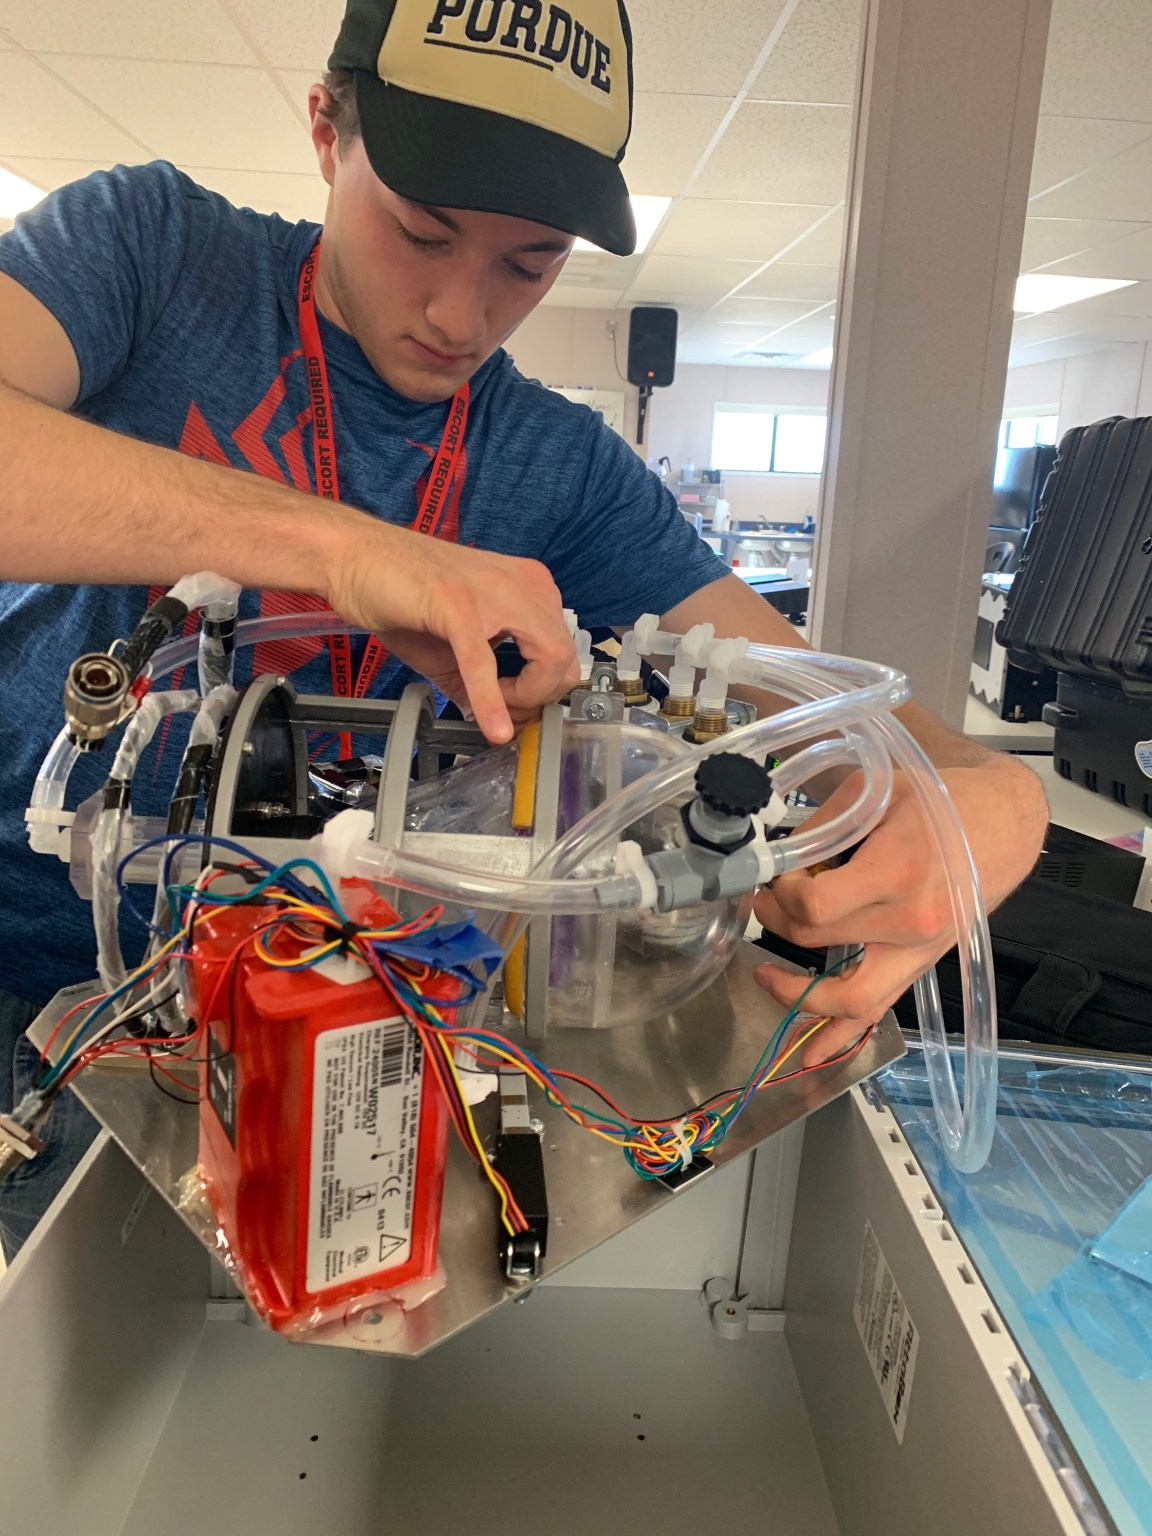
General Best Practices
Cultivate a successful team
Choose team members you trust and work well with and who can contribute in specific ways that add value to the flight testing effort.
Reach out early
Communicate with your flight provider, NASA flight campaign manager, and other team members early and often to resolve questions and best prepare for your flight.
Stay organized
Make organization a priority for you and your team every step of the way as you prepare for your flight. For example, create and follow procedures/checklists and ensure that you have the user’s guides and documentation you need.
Have contingencies for your experiment
Consider everything that could go wrong with your technology as well as the demonstration itself and plan for how to solve it. For example, if software is automated, make sure you have the option to override it. If a team member gets sick, ensure you have a back-up person in place.
Upon Award
Understand what your flight provider can offer
Review vehicle specs in the flight provider documentation and talk to your flight provider to see what other options are available (e.g., flight modeling and safety support), as discussed in this example from Aerostar, one of the program’s flight providers.
Contact your flight provider if your team includes a foreign national
Ask if the flight provider has export control support or processes in place. Even if what you need is not a standard service for the flight provider, it could be possible to have it included in the contract.
- NASA researchers: Familiarize yourself with U.S. export control protocols well in advance of your flight to determine if you will need Office of International Relations involvement.
Start preparing forms required by the flight provider
Some flight providers require a payload integration package to be completed, which includes a description of your payload. Consult the payload user’s guide (PUG) and discuss what paperwork is needed with your flight provider and your NASA campaign manager, as it could vary depending on your payload.
Start the process of applying for any required licenses or other permissions
Work with your flight provider to learn which regulatory requirements they cover and which ones you will need to acquire or complete yourself. Depending on your payload and the type of flight platform, you may need to have a license to transmit radio frequency (RF) systems, which can take various forms. Also investigate safety requirements, special arrangements for shipping hazardous materials, and any local government or Federal Aviation Administration (FAA) requirements.
- Start the process of securing licenses/permissions early, as they can take more than two months to be approved and may need to be in place well before the flight.
- Ensure that the licenses will still be valid in the event of a delayed flight.
- Add a one-month margin to account for potential weather delays.
During Payload Development
Communicate with your Flight Opportunities campaign manager frequently
Your campaign manager can help you have the most successful flight possible. They have experience working with many researchers and flight providers. By staying in frequent communication with them, you will gain valuable insights that will help you make the most of your flight opportunity.
Keep in touch with your flight provider
Discuss the specific requirements for your experiment (e.g., considerations for pressure systems, heat sources, fluids that might be used, or large amounts of power draw). Leverage their expertise by asking detailed questions to confirm you are meeting all requirements laid out in the flight provider documentation (e.g., the payload integration package [PIP] provided by flight providers for parabolic flights).
Take advantage of the flight vehicle’s unique capabilities
Consider the environment the flight vehicle will experience and plan to gather as much relevant data as possible to maximize the flight test opportunity.
Set a payload readiness date with your flight provider
Develop a realistic timeline to implement the design, review it with colleagues, and pre-test it. Reach out to your flight provider and Flight Opportunities campaign manager if you encounter any issues or delays.
Request feedback on your technical documentation
Ask the flight provider if they would be willing to review a draft of your technical documentation and, if so, how far in advance of the flight it should be submitted.
Prepare as much as possible
It is better to over-prepare than under-prepare for the flight and learn from your experience.
Follow best practices for payload design
Review this advice for designing your payload.
Test as you plan to fly
Conduct tests in the lab that are as close to the flight configuration as possible to identify issues early.
Months Before the Flight
Submit your technical documentation on time
Complete and return technical documentation according to the deadline given by your flight provider, typically 6–8 weeks prior to the flight. This includes securing any licenses, completing payload integrations, and other required paperwork. Talk to your flight provider for more specifics.
Use the flight provider and Flight Opportunities campaign manager as a key resource
Reach out to your flight provider, as they often have expertise and experience that could be instrumental for your flight test.
Establish procedures
Ensure you have procedures in place for every part of the process (e.g., testing, launch, post-flight operations) and update them as you test to best prepare for your flight. Use checklists and labels to simplify the tasks. Consider making a stand-alone card with key information for each part of the experiment. Brainstorm other tools that might be helpful to your team during flight.
Have a back-up plan
Build redundancies into your setup – not only in equipment but also in team members – and practice executing the experience so that the process is simplified.
Cross-training is important
For parabolic flights, crew members may get sick, so cross-training the crew such that they can perform all roles is a best practice.
Consider the in-flight environment
For researcher-tended experiments, account for the time needed for team members to get used to the in-flight environment and be realistic with your expectations.
Prepare, prepare, prepare
Practice running your experiment outside the lab to be fully prepared for the flight.
Account for shipping and travel time
If you need to ship your experiment to the site, ensure that it gets there early and safely. Check with your campaign manager to determine the best way for your experiment to arrive at the site intact (e.g., consider adding electronic shock and humidity trackers to the packages). Consult with your flight provider about arriving a few days early to set up the payload.
Test your payload prior to delivery
Take care to perform all necessary testing, particularly for the duration of the flight test, to ensure you are fully prepared. To the extent possible, test your payload against parameters outlined in the payload user’s guide (PUG), including the temperature, pressure, acceleration, shock, vibration, and other environmental variables your payload may be exposed to.
Weeks Before the Flight
Plan for flight provider facility logistics
Ensure you know the process for what happens when you arrive on site and have a plan in place. For example, determine whether an escort is required to and from the integration facility. Consider visiting the flight provider ahead of the flight week.
Communicate needs to the flight provider
Talk to your flight provider if you have special requirements like cold storage, power, clean environments, electrostatic discharge (ESD) benches, or special test equipment to make sure they can be accommodated. Common in-lab items may not be standard at the flight provider’s site. Make alternative plans if needed.
Develop your packing list
Stage your lab before you go so you can take stock of the tools and space you will need at the launch site.
Plan ahead for personnel attendance
Ensure the principal investigator (PI) can attend payload integration and flight. Identify knowledgeable alternate personnel to be on site in case the PI cannot be present.
Prepare all team members
Make sure all team members are familiar with the payload, including hardware, software, and other systems as well as pre-flight testing and in-flight operation so that a team member is prepared to step in for the PI if needed. Ensure all team members are aware of safety protocols.
Start preparing your team to fly
Follow best practices for flight testing on aircraft flying parabolic profiles if that is the vehicle platform you will be using.
Packing for and Traveling to the Flight Site
Use labels
Identify items by team name to stay organized at the flight site.
Create a checklist
Make note of every part, procedure, and step-by-step process. Group the information on the checklist, ensuring it is in logical order.
Address special payload needs for multi-flight campaigns
Plan for consumables or materials that may require servicing or replacement between flights (e.g., additional batteries to hot-swap).
Do a final check for easily overlooked items
Keep in mind the remote location of many launch sites – they often lack conveniences like local hardware stores. Don’t assume you will be able to do any last-minute shopping for tools or equipment:
- Pack an extension cord.
- Bring spares of all critical payload modules, including hardware, biological samples, etc.
- Include extra electrical peripherals, such as batteries, power connectors, and data cards.
Week of the Flight
Be prepared
Have a thorough understanding of what to expect and contingency plans to account for things you might not have expected.
Know the schedule
Be sure you are familiar with the schedule and key activities. Each flight campaign is unique, so don’t assume this flight schedule will be the same as the last one.
Be familiar with the facility and equipment
Get a description of the payload integration facility and any available payload support equipment from your flight provider before you arrive on site.
Be aware of the security protocol
Ask for a security briefing from the flight provider when you arrive.
Perform integrated compatibility testing
Conduct comprehensive and flight-like representative integrated tests, including system electromagnetic and interference (EMI) testing to identify potential radio frequency (RF) impacts on the payload systems.
Perform functional and/or performance checks on your hardware
Check on hardware at the beginning and end of each day to ensure the payload is at a nominal state at each stage of the integration process.
Immediately After Flight
Perform daily hardware reviews
For multi-day flight campaigns, check the status of your hardware at the end of each day (if possible) to detect any issues before the next day’s flight.
Assess how the flight went
Document lessons learned right away to identify what went well and what could be improved.
Prepare for the next flight
Develop new techniques, checklists, approaches, and activities to practice in advance based on your experience.
Later After Flight Testing
Take stock of lessons learned
When you get your payload back, review what worked and what did not to advance your technology. Even if the technology did not advance, reviewing the lessons learned is key part of the process. What would you change? What improvements could you make for the next iteration?
Prepare follow-on proposals
Use your Flight Opportunities experiences for a path toward technology maturation, advancing your technology readiness level (TRL) and preparing you to write follow-on proposals for larger missions or applications, following these best practices for proposal preparation.