


ARTEMIS II Press Kit
.
Lee este kit de prensa en español aquí
Mission Overview
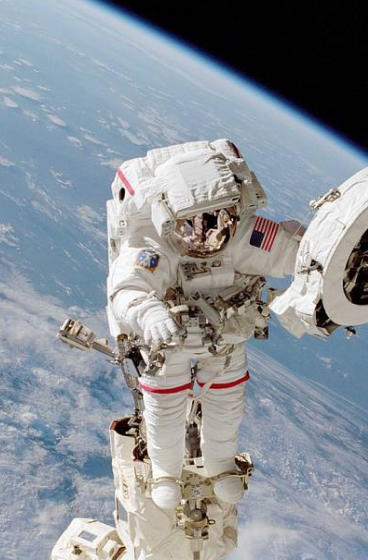
Artemis II is NASA’s first crewed test flight in the Artemis campaign. Four astronauts will fly aboard NASA’s Orion spacecraft and confirm the spacecraft’s systems operate as designed in the deep space environment. In this Golden Age of exploration and innovation, the Artemis missions will allow astronauts to explore the Moon for scientific discovery, economic benefits, and help build momentum for the first crewed missions to Mars.
The Artemis II mission profile follows the uncrewed Artemis I flight test by demonstrating a broad range of SLS (Space Launch System) and Orion capabilities for deep space. This mission will prove Orion’s life support systems are ready to sustain crew on future missions and allow the crew to practice operations essential to the success of Artemis III and beyond.
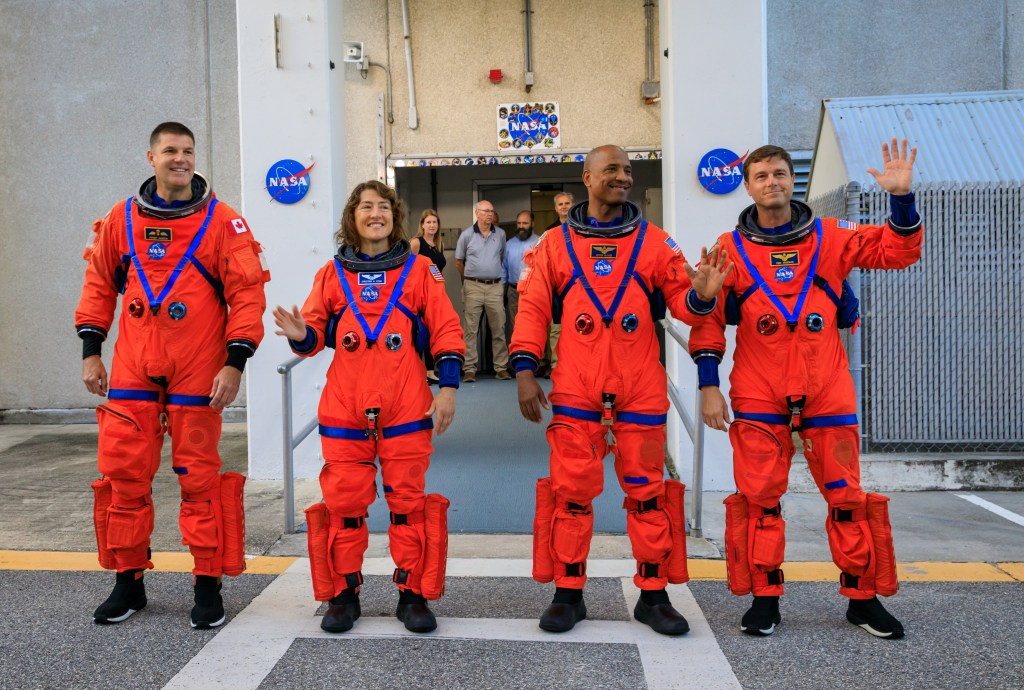
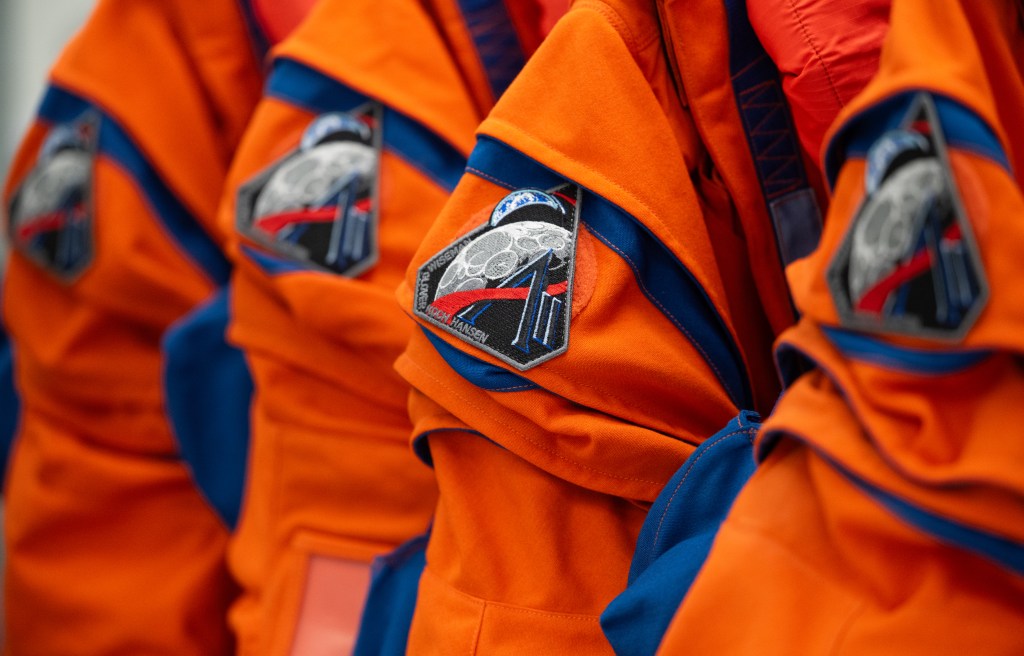
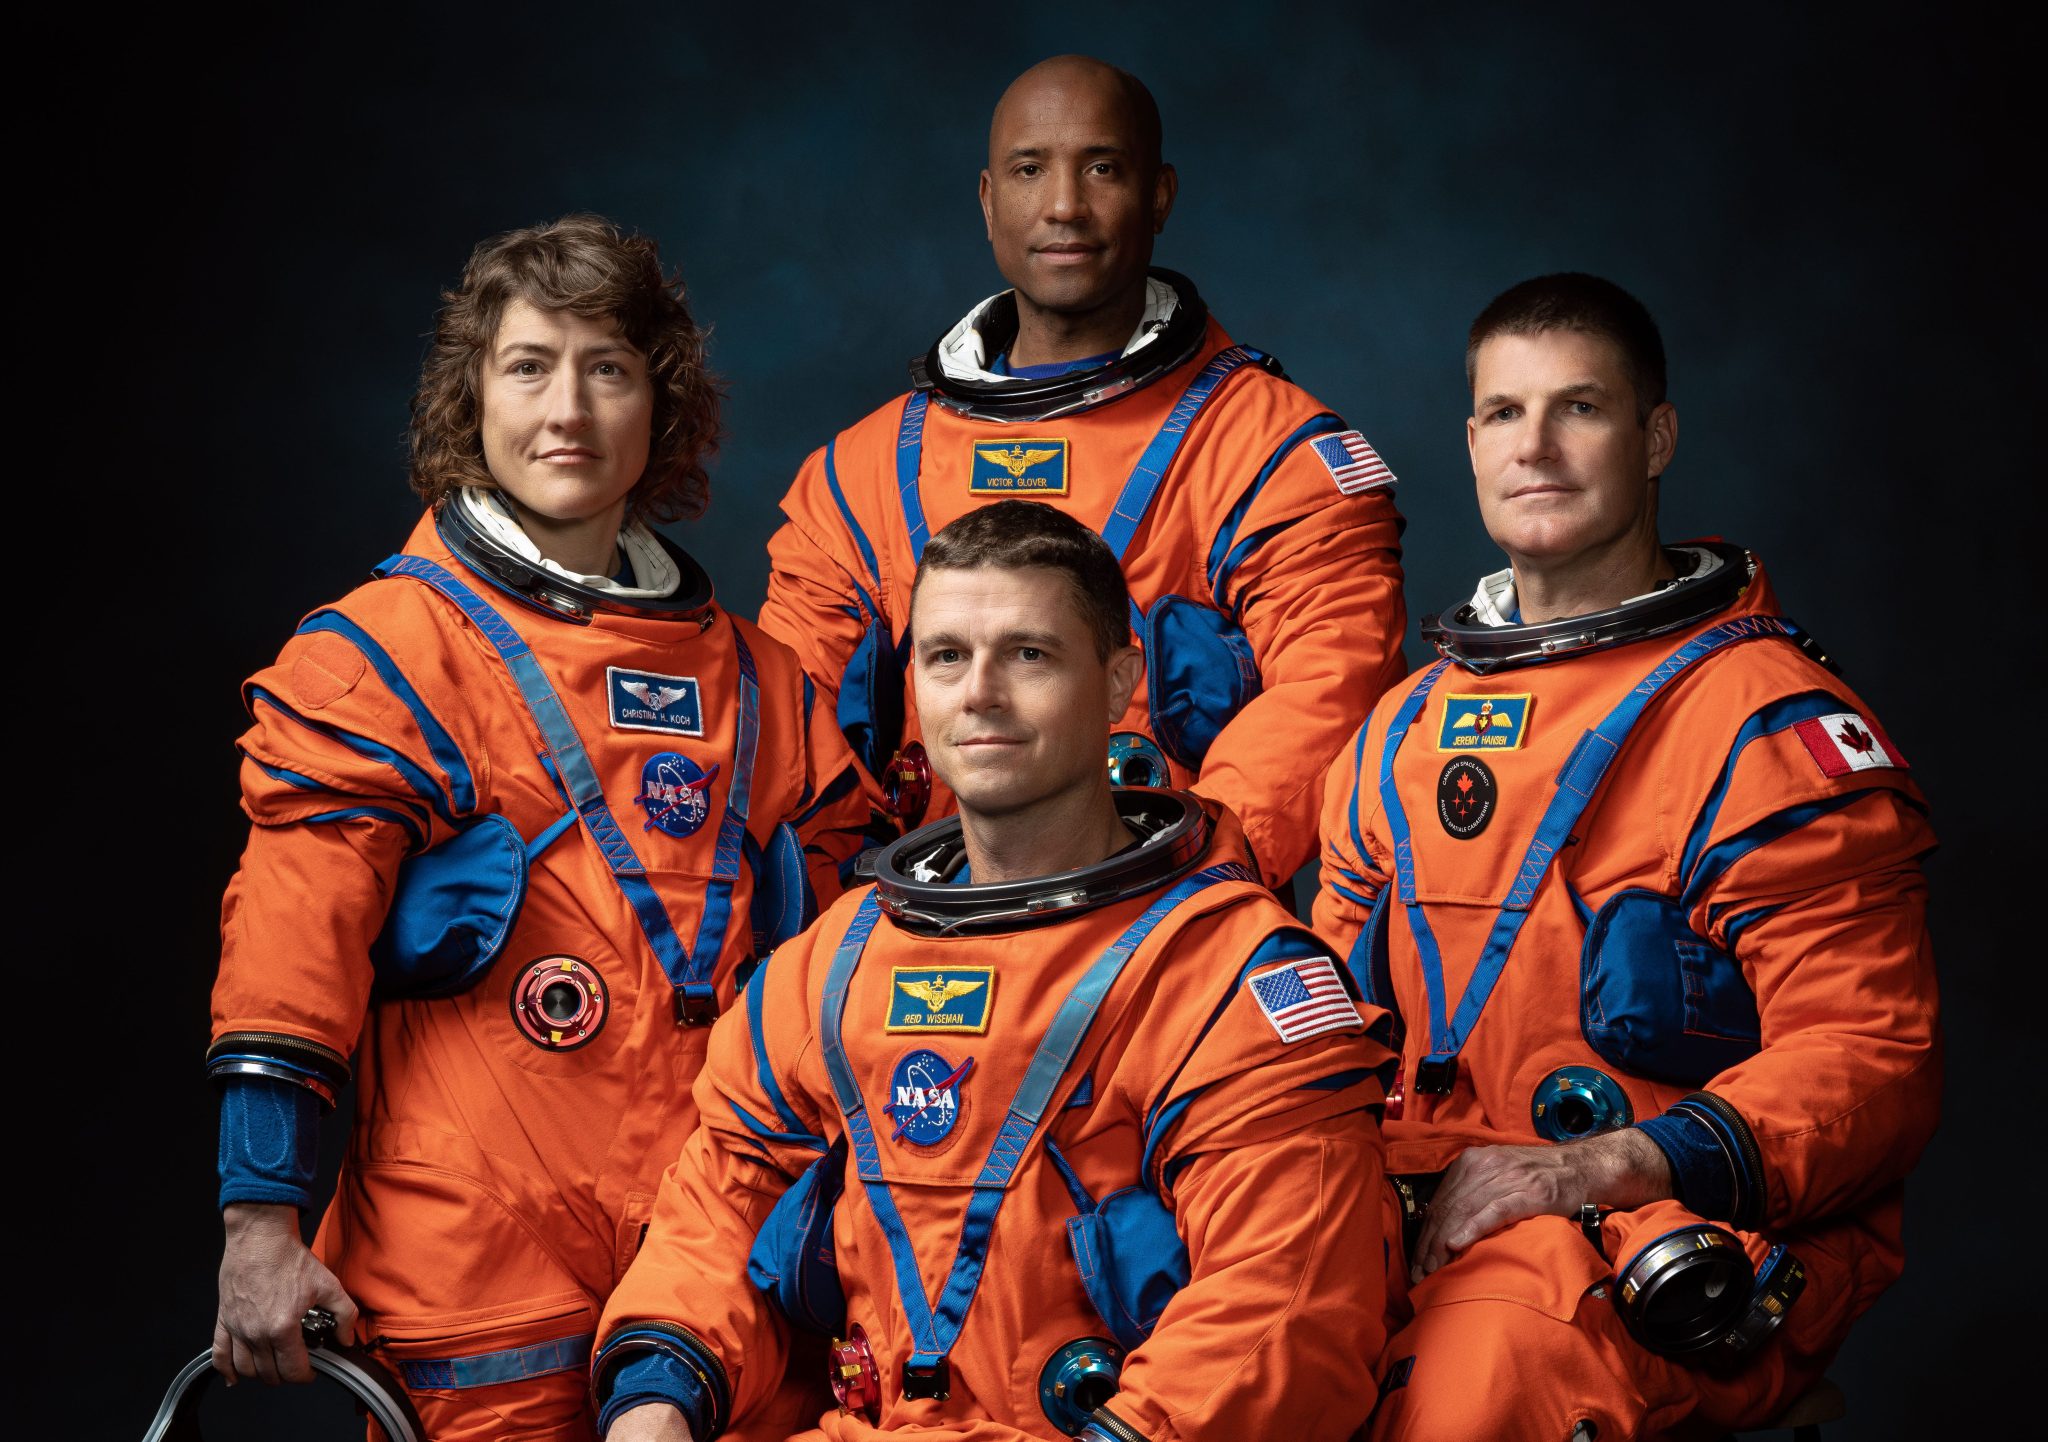
NASA’s Reid Wiseman, Victor Glover, and Christina Koch, and CSA (Canadian Space Agency) astronaut Jeremy Hansen are the Artemis II astronauts.
The initial launch will be similar to Artemis I as SLS lofts Orion into space. With crew aboard this mission, Orion and the upper stage, called the interim cryogenic propulsion stage (ICPS), will then orbit Earth twice to ensure Orion’s systems are working as expected while still close to home.
Orion will start in an elliptical orbit that will be refined to a “safe” high Earth orbit of approximately 44,525 x 115 statute miles. For perspective, the International Space Station flies a nearly circular Earth orbit about 250 miles above our planet.
After the burn to enter the high Earth orbit, Orion will separate from the upper stage, which the crew will use as a target for a manual piloting test called the proximity operations demonstration. During the demonstration, mission controllers at NASA’s Johnson Space Center in Houston will monitor Orion as the astronauts transition the spacecraft to manual mode and pilot Orion’s flight path and orientation. This demonstration will provide performance data and operational experience that cannot be readily gained on the ground in preparation for critical rendezvous, proximity operations, and docking – as well as undocking – operations in lunar orbit beginning on Artemis III.
Checking Critical Systems
Following the proximity operations demonstration, the crew will turn control of Orion back to mission controllers at NASA Johnson and spend the remainder of the orbit verifying spacecraft system performance in the space environment.
While still close to Earth, the crew will assess the performance of the life support systems necessary to generate breathable air.
Orion also will test the communication and navigation systems to confirm they are ready for the trip. While still in the elliptical orbit around Earth, Orion will briefly fly beyond the range of GPS satellites and the Tracking and Data Relay Satellites of NASA’s Space Network to allow an early checkout of agency’s Deep Space Network communication and navigation capabilities.
After completing checkout procedures, Orion will perform the next propulsion move, called the translunar injection burn, where Orion’s service module will provide the last push needed to put the spacecraft on an outbound trip of about four days and around the far side of the Moon, tracing a figure eight that will extend more than 230,000 miles from Earth before returning home.
Moonbound, Free Ride Home
On the remainder of the trip, astronauts will continue to evaluate the spacecraft’s systems, including practicing emergency procedures, testing the radiation shelter, taking part in science experiments, and making observations of the Moon from a closer vantage point than human eyes have had in more than 50 years.
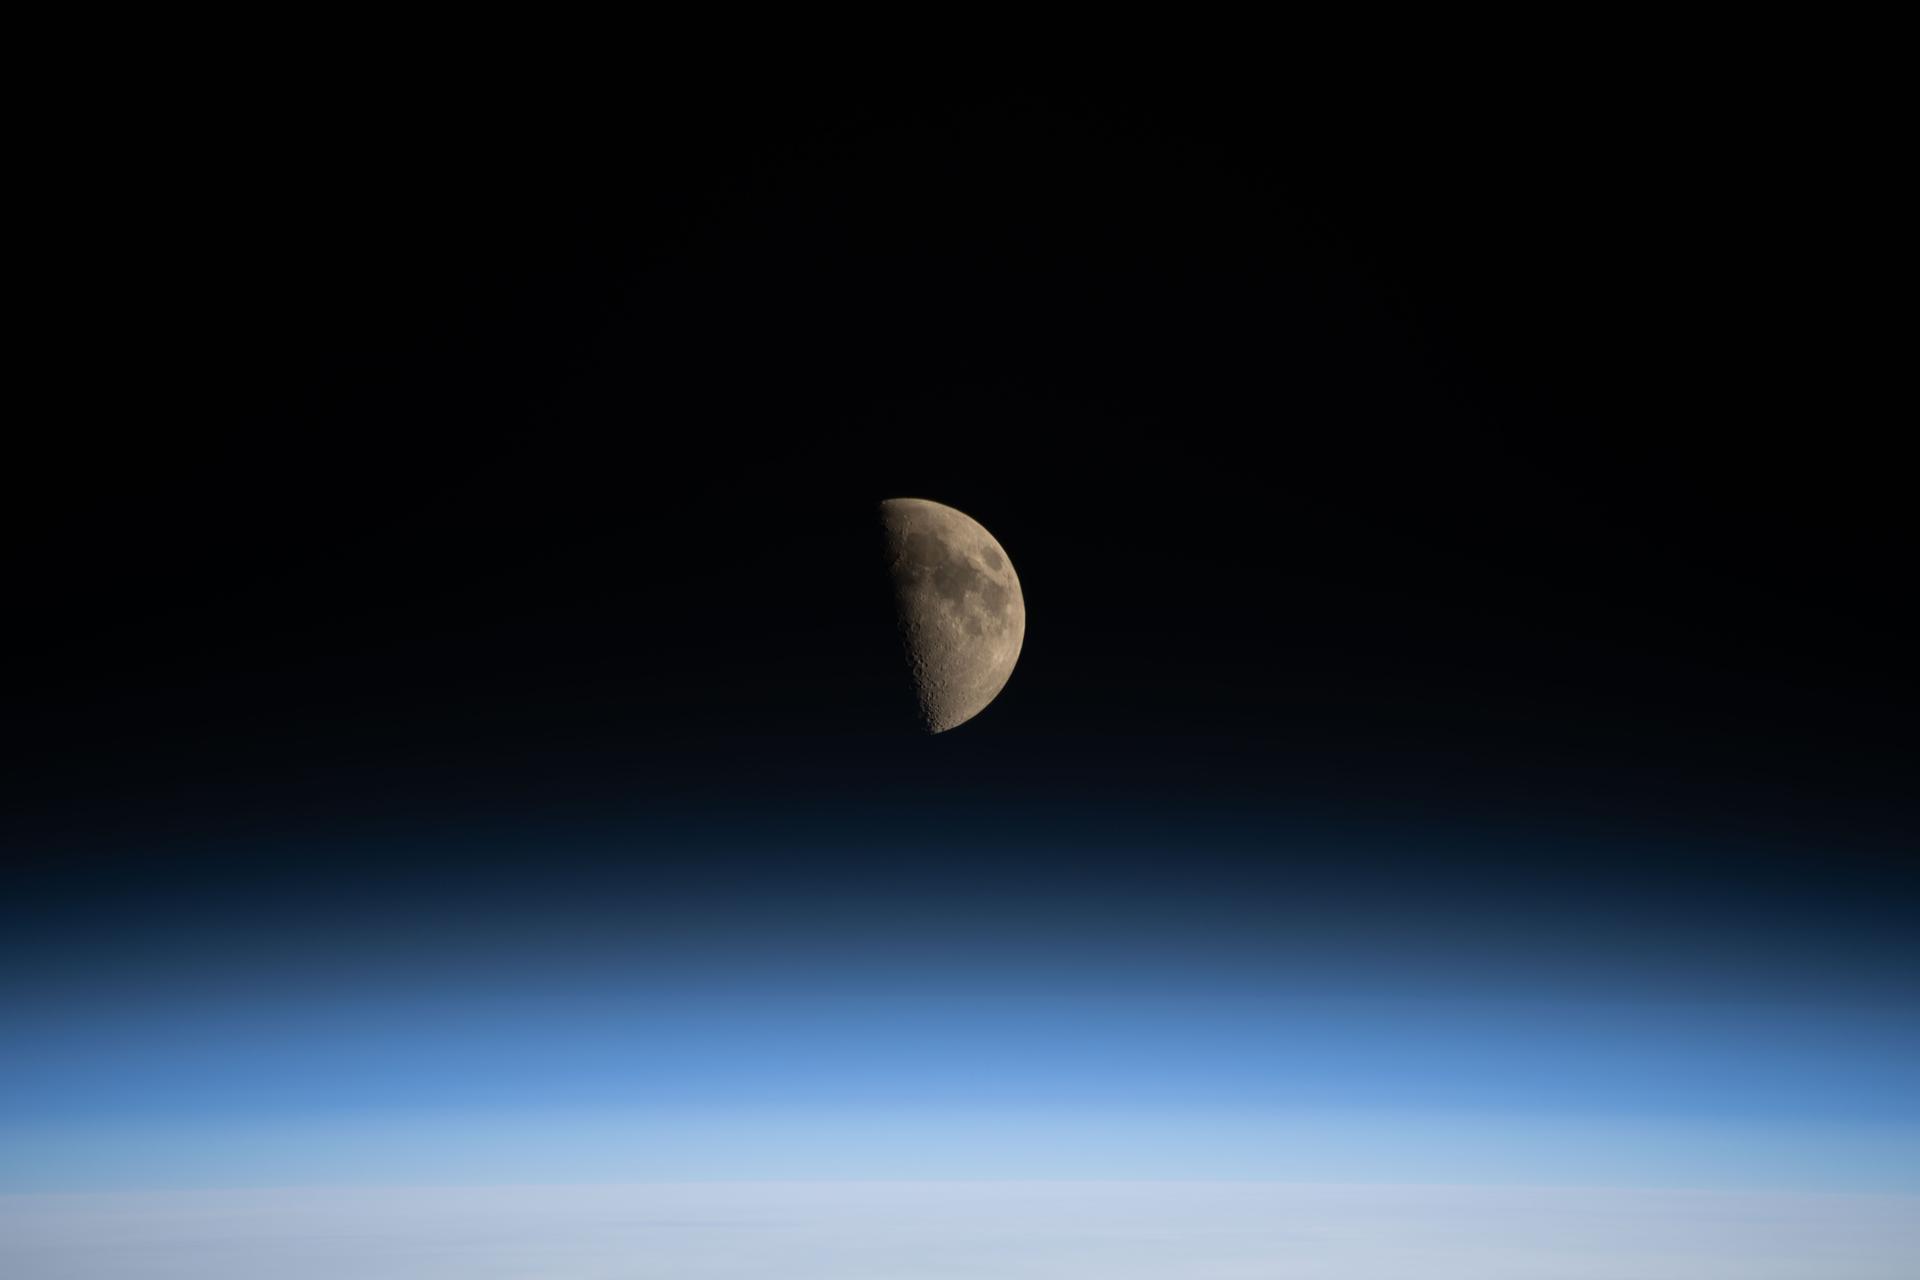
The Artemis II crew will travel approximately 4,600 miles beyond the far side of the Moon. They will see the Earth and the Moon from Orion’s windows, with the Moon close in the foreground and the Earth nearly 250,000 miles in the background. From the crew’s location, the Moon will look about the size of a basketball held at arm’s length.
Once Orion and the crew come around the far side of the Moon, they’ll begin the return leg of their journey home. Instead of requiring propulsion on the return, their fuel-efficient trajectory will harness the Earth-Moon gravity field, ensuring Orion will be pulled back naturally by Earth’s gravity for the free-return portion of the mission.
Orion will splashdown in the Pacific Ocean, and the spacecraft and crew will be recovered with the help of the U.S. Navy, offering another opportunity to put new processes to the test for the first time. The lessons learned throughout the mission will pave the way for humans to return to the lunar surface. Through Artemis, NASA will explore more of the Moon than ever before and create an enduring presence in deep space, while simultaneously preparing to land the first astronaut – an American – on Mars.
Mission Priorities
The Artemis II test flight will confirm the systems necessary to support astronauts in deep space exploration and prepare to establish a sustained presence on the Moon. There are five main priorities for Artemis II:
- Crew: Demonstrate the ability of systems and teams to sustain the flight crew in the flight environment, and through their return to Earth.
- Systems: Demonstrate systems and operations essential to a crewed lunar campaign. This ranges from ground systems to hardware in space, and operations spanning from development to launch, flight, and recovery.
- Hardware and Data: Retrieve flight hardware and data, assessing performance for future missions.
- Emergency Operations: Demonstrate emergency system capabilities and validate associated operations to the extent practical, such as abort operations and rescue procedures, as needed.
- Data and Subsystems: Complete additional objectives to verify subsystems and validate data.
Major Mission Milestones
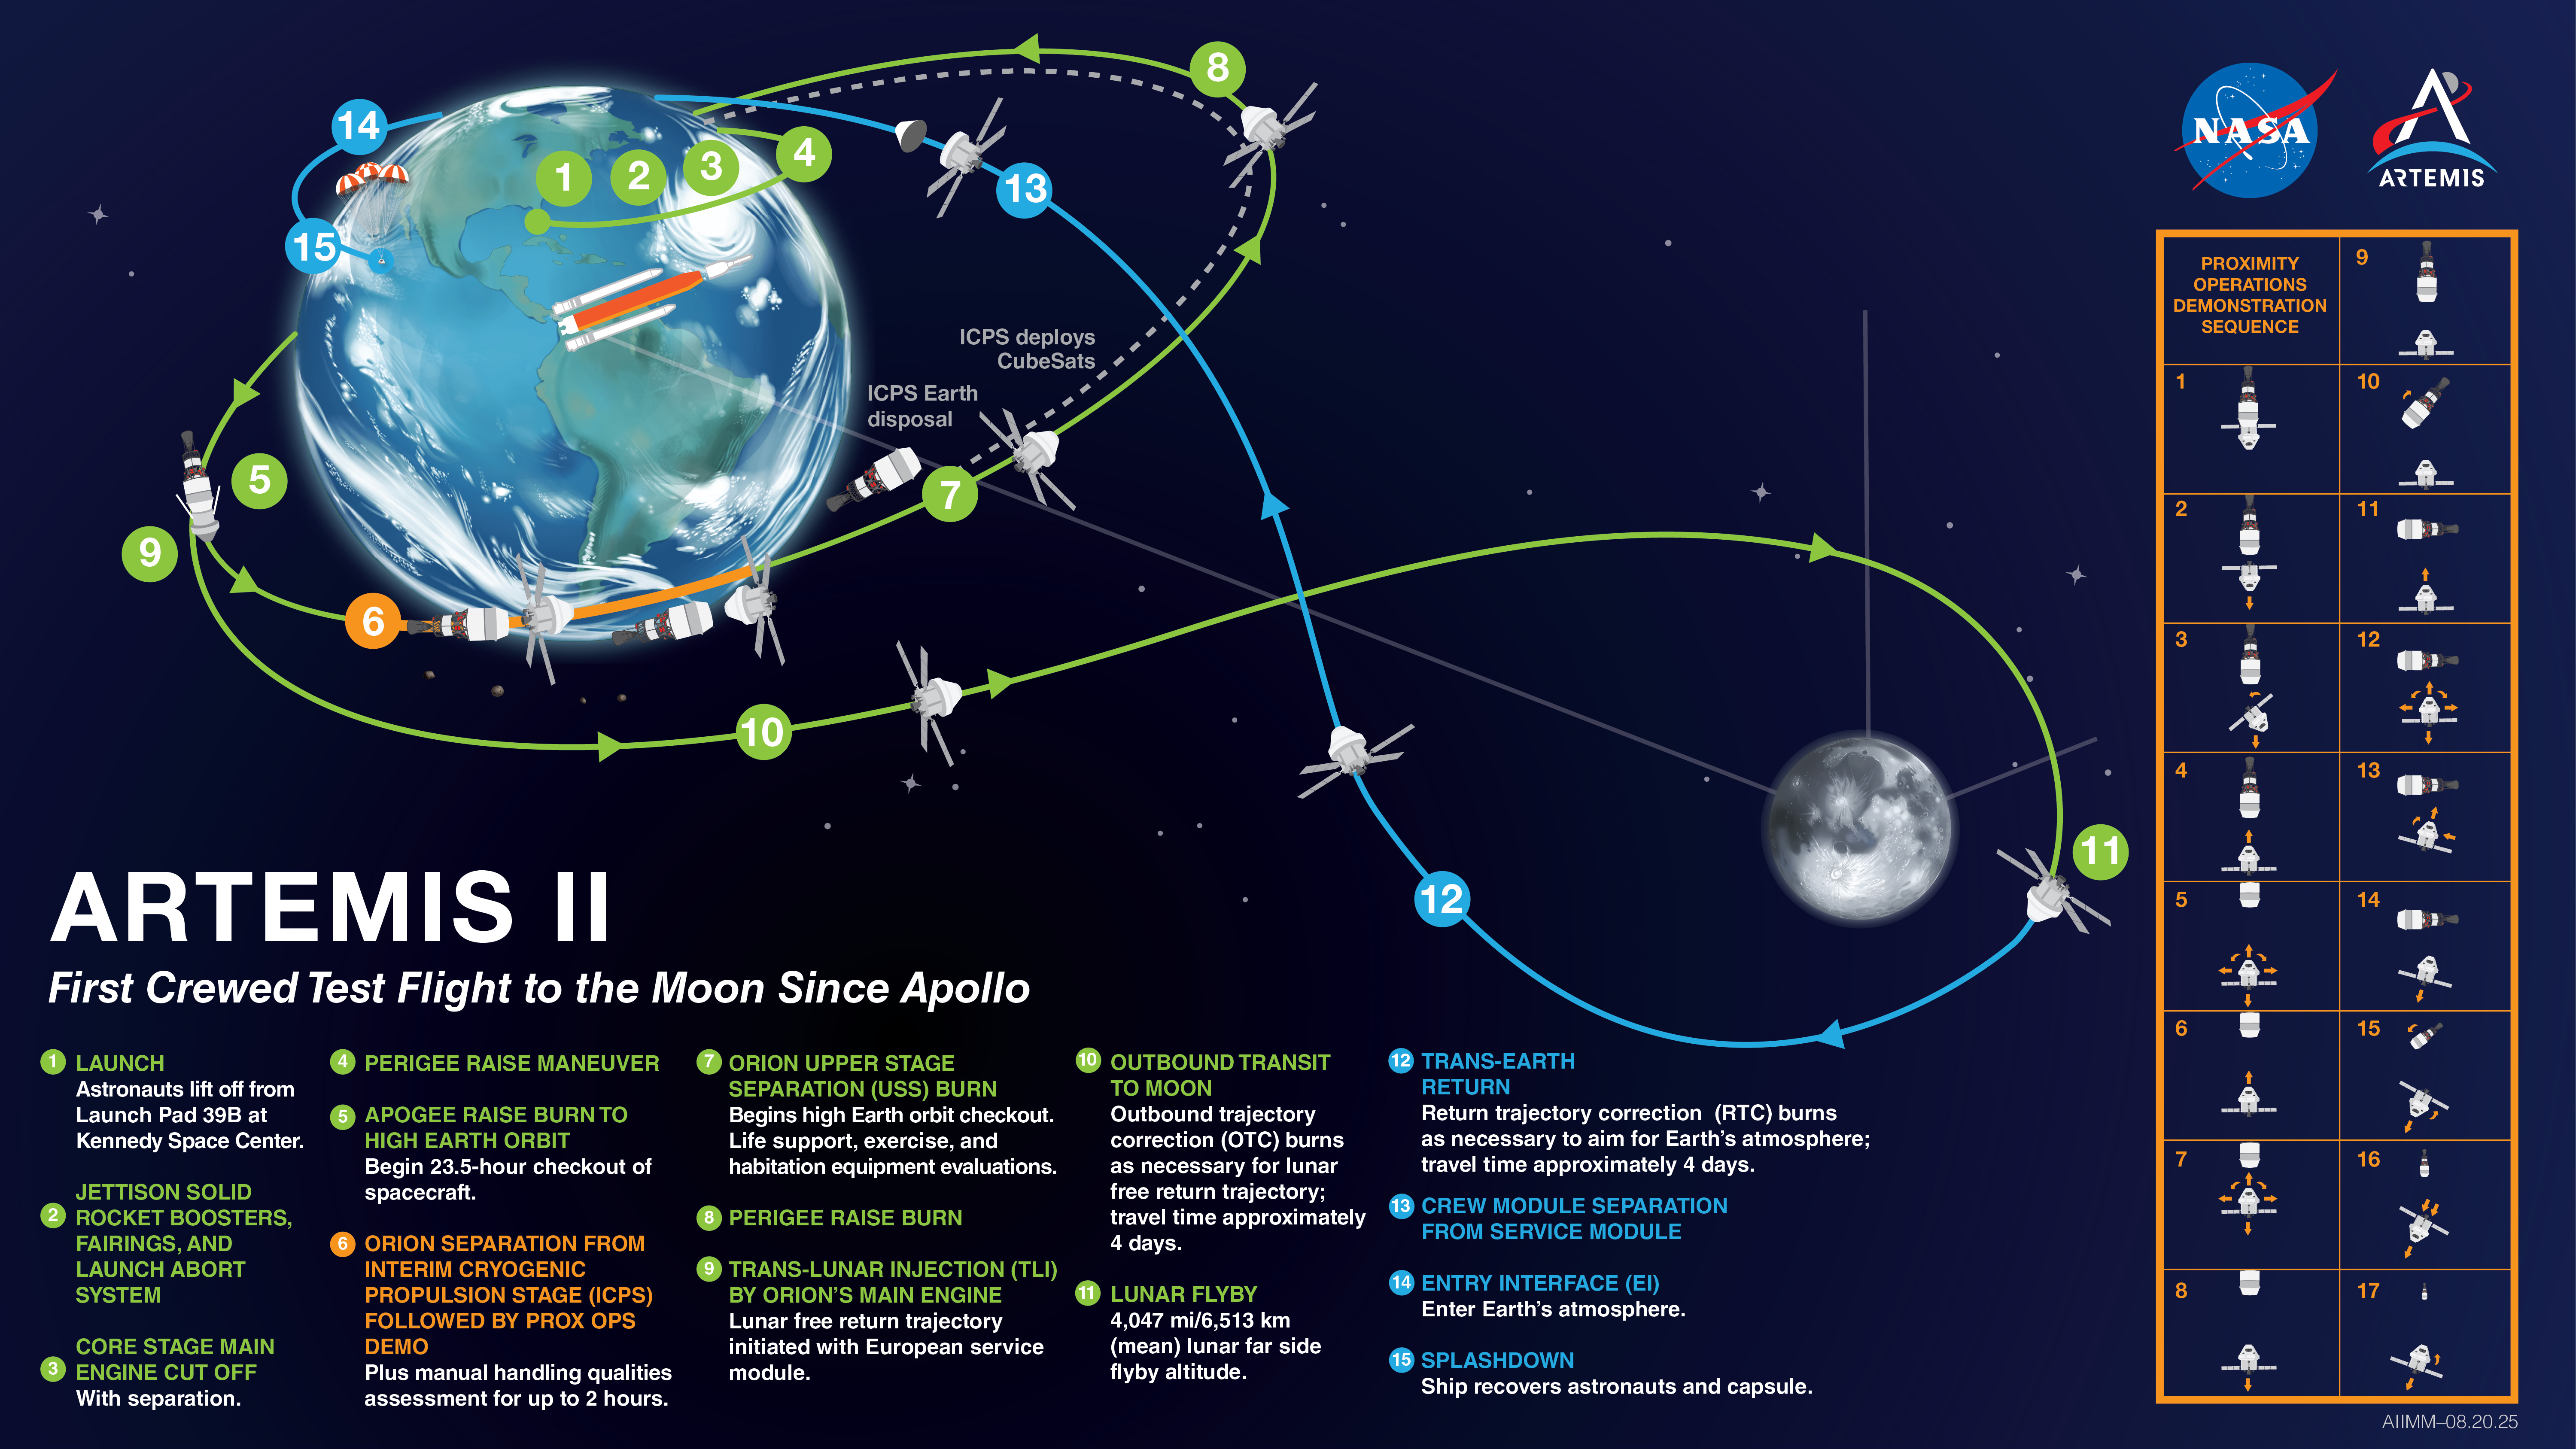
Launch – The SLS will lift Orion and the crew away from the Earth using more than 8.8 million pounds of thrust.
Jettison Rocket Boosters, Fairings, and Launch Abort System – As the rocket leaves the atmosphere, its solid rocket boosters will be discarded once they have been emptied of fuel, followed by the panels that protect the Orion service module, and the launch abort system that would pull Orion and the crew to safety in the case of early ascent emergencies.
Core Stage Main Engine Cut Off – On reaching space, the SLS’s core stage engines shut down, and the core stage separates from the upper stage and Orion.
Perigee Raise Maneuver – When Orion reaches the apogee, or highest point, of its early, sub-orbital trajectory, the ICPS upper stage will fire its engine to raise its perigee — the lowest point of its orbit – to a safe altitude of 100 miles. Once this burn is complete, Orion and the ICPS will be in a stable low-Earth orbit.
Apogee Raise Burn to High Earth Orbit – ICPS will fire again roughly an hour later, this time at the perigee of its orbit, to continue raising Orion into a high Earth orbit. This begins a roughly 23-hour checkout of the spacecraft, while Orion and its astronauts are still relatively close to Earth.
Orion Separation from ICPS followed by Proximity Operations Demonstration – Once the ICPS has done its job, it will separate from Orion and be repurposed as a target for a proximity operations demonstration test – an opportunity for the crew to verify they can safely pilot Orion in manual mode. The ICPS will stand in for spacecraft that Orion would dock to in future missions, while the crew practices flying Orion toward and around it.
Orion Upper Stage Separation Burn – With proximity operations complete, the crew will use Orion’s orbital maneuvering system engine to move away from the ICPS and make additional observations of the upper stage as it gets farther away. About 15 minutes later, the ICPS will perform its own disposal burn, setting it on a path to reenter the Earth’s atmosphere and burn up over the Pacific Ocean.
Perigee Raise Burn – At the end of Flight Day 1, the crew will be awakened to perform an additional engine firing to get Orion into the correct orbital geometry for its translunar injection burn on Flight Day 2.
Translunar Injection by Orion’s Main Engine – The translunar injection burn is the last major engine firing of the mission. It propels Orion on a path toward the Moon and sets it on the free-return trajectory that will ultimately bring crew back to Earth for splashdown. Though only two days into the mission, it essentially doubles as Orion’s deorbit burn, as well.
Outbound Transit to Moon – Three smaller outbound trajectory correction burns using Orion’s orbital maneuvering system engine over the course of the next three days will ensure the spacecraft stays on target for its journey around the Moon. Just before the crew goes to sleep on Flight Day 5, they’ll enter the lunar sphere of influence, where the pull of the Moon’s gravity will become stronger than the pull of the Earth’s gravity.
Lunar Flyby – Exactly how close the Artemis II crew will fly to the Moon will depend on when they launch. The Moon will be in a different spot for each of the possible launch dates, and the exact distance will change accordingly, ranging from 4,000 to 6,000 miles above the lunar surface. This is farther from the Moon than Artemis I’s 80 miles above the surface, but still tens of thousands of miles closer than any human has been in more than 50 years. At this distance the Moon will appear to the crew to be about the size of a basketball held at arm’s length.
The closest the crew will come to the lunar surface will be when Orion flies behind the Moon. At this point, the crew will lose communication with the Earth for anywhere from 30-50 minutes, depending on when they launched. During that time, they will be taking photos and video of the Moon’s far side and making observations to be shared with scientists on the ground after they regain communication.
Trans-Earth Return – After Orion swings around the far side of the Moon and exits the lunar sphere of influence, its fuel-efficient free return trajectory will harness the Earth-Moon gravity field to pull Orion back to Earth naturally. As on the journey to the Moon, three small return trajectory correction burns along the way will ensure the crew is set up for a safe splashdown. The last of the trio of burns takes place on Flight Day 10, five hours before entry interface, once the crew has begun working through their preparations for coming home.
Crew Module Separation from Service Module – With its work done, Orion’s service module, containing the engines responsible for the burns that steer the spacecraft and propel it through space, will separate from the crew module. This exposes the crew module’s heat shield, which will protect the astronauts through the heat of reentry. The service module will then be allowed to burn up in the Earth’s atmosphere.
Entry Interface – The crew module’s reaction control system engines will steer the heatshield into the direction of travel to prepare for peak heating. While still 400,000 feet – almost 76 miles – above Earth, Orion will begin to feel the effects of the Earth’s atmosphere for the first time since launch. Within a matter of seconds, superheated plasma will begin to build up around the spacecraft as the friction of the surrounding atmosphere increases. Orion will experience temperatures around 3,000 degrees Fahrenheit, and communications with the crew will be temporarily blocked by the plasma.
Splashdown – Once Orion has made it through the heat of reentry, the cover that has been protecting its forward bay is cast off to make way for the parachutes to deploy and begin slowing Orion down. Two drogue parachutes, each 23 feet in diameter, will unfurl at an altitude of 25,000 feet and slow the capsule down to 307 mph. At 9,500 feet, three 11-foot-wide pilot parachutes will deploy to pull the final three main parachutes. The 116-foot-wide main parachutes slow Orion from about 130 mph to just 17 mph for splashdown.
The crew module may land upright, upside down, or on its side. Once in the water, a system of five orange airbags will inflate around the top of the spacecraft and flip the capsule into an upright position, so that crew can safely exit.
Crew Information
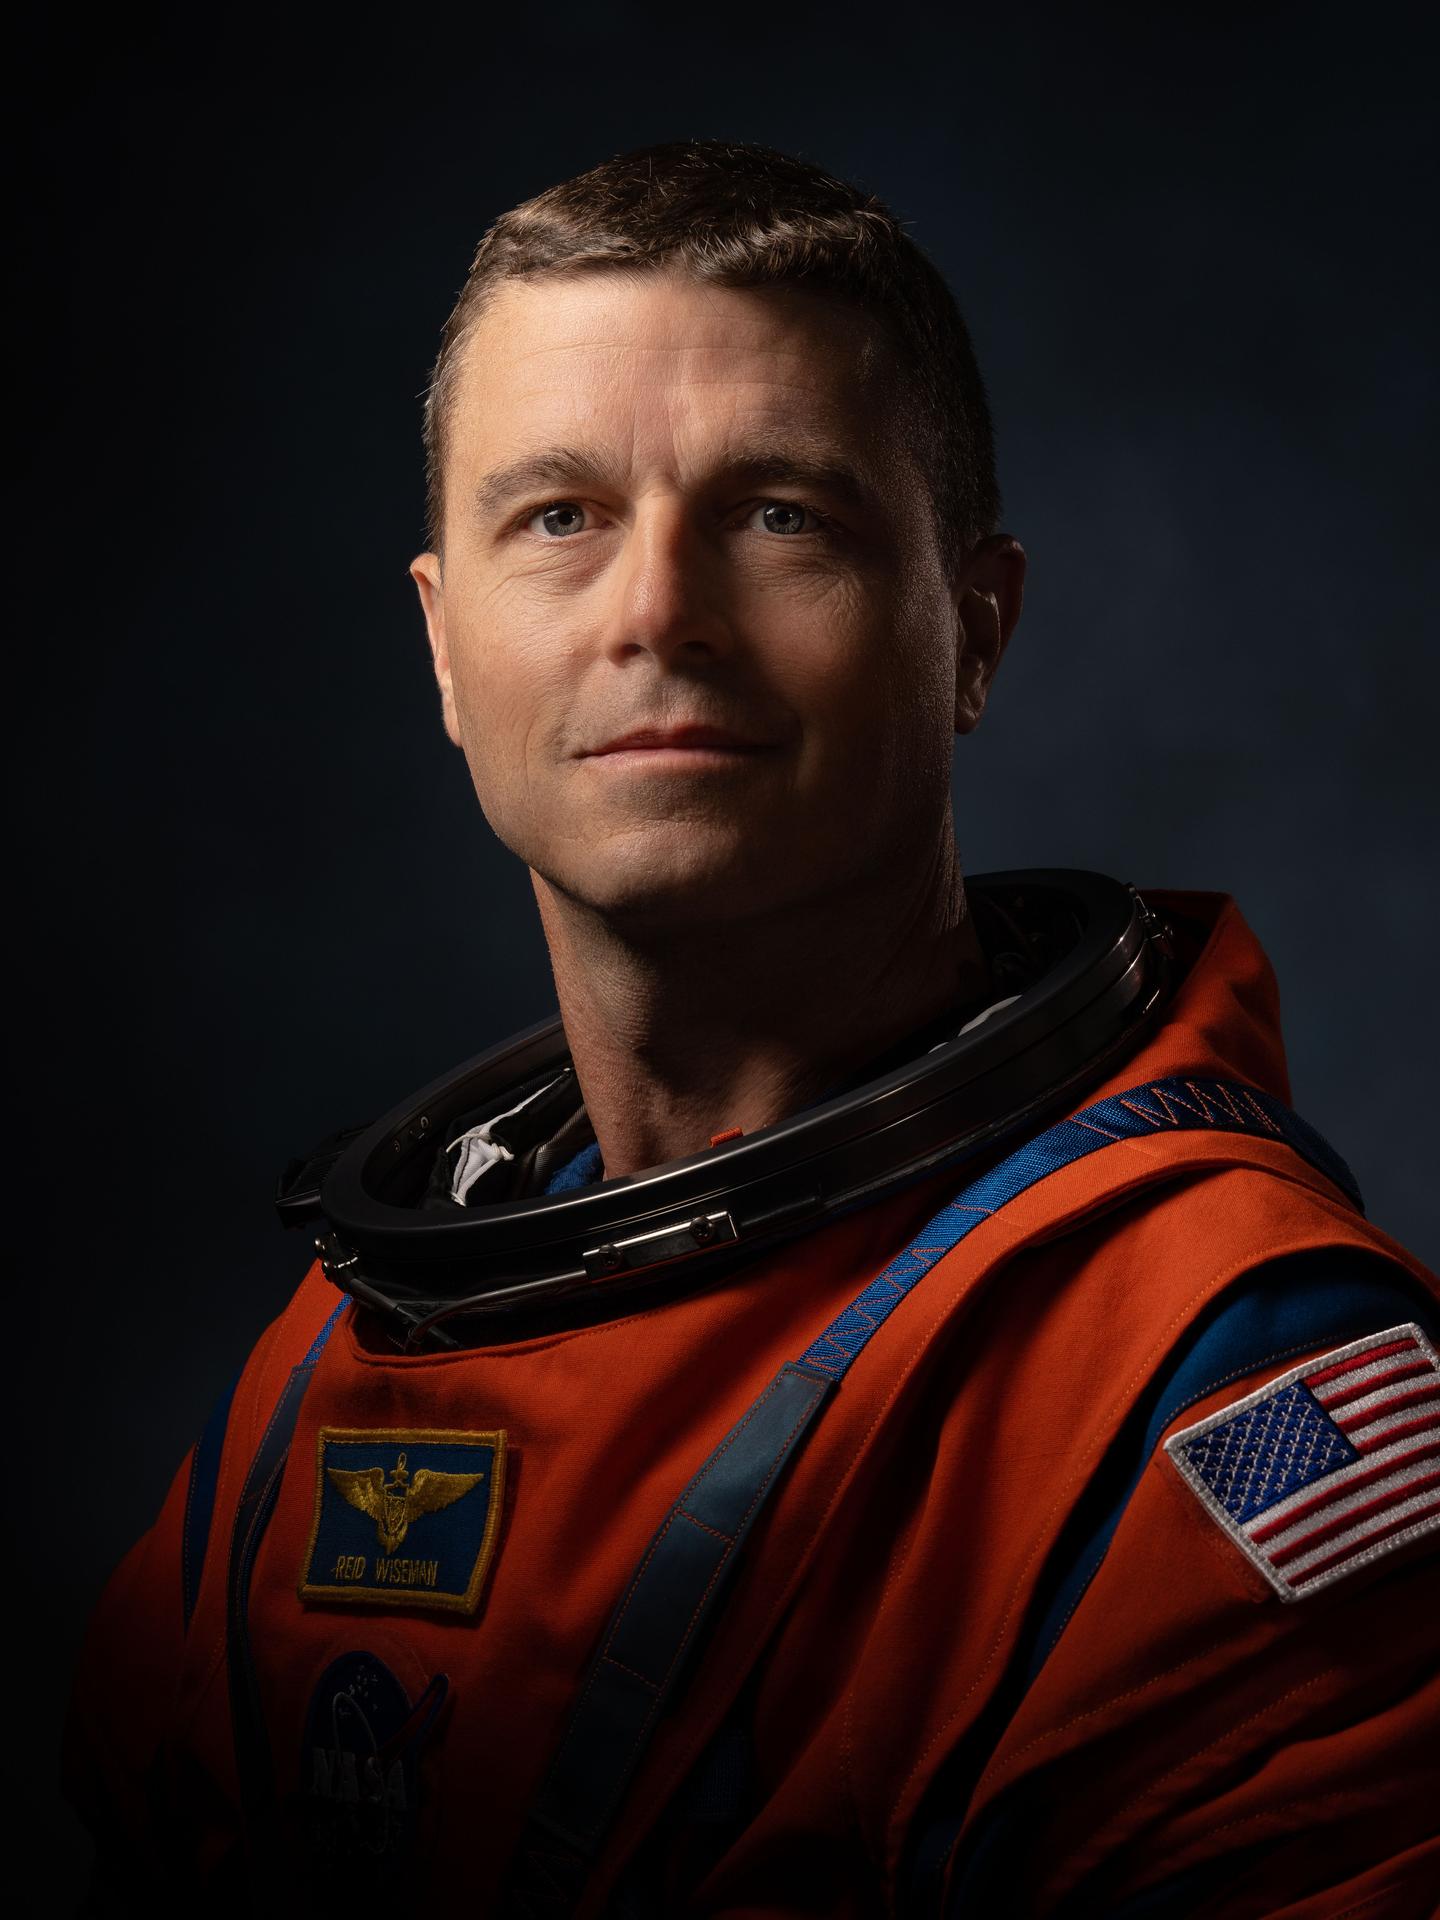
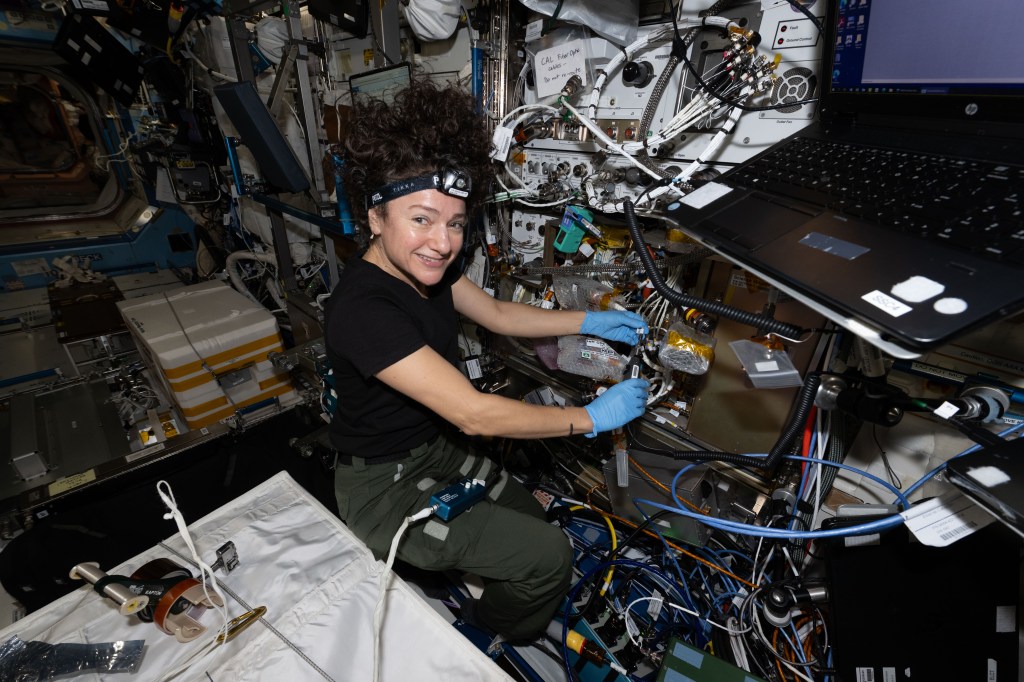
Reid Wiseman is commander of NASA’s Artemis II mission. The Baltimore native previously served as flight engineer aboard the International Space Station for Expedition 41 from May through November of 2014. During the 165-day mission, Wiseman and his crewmates completed more than 300 scientific experiments in areas such as human physiology, medicine, physical science, Earth science and astrophysics. They set a milestone for station science by completing a record 82 hours of research in a single week. He also served as chief of the Astronaut Office from December 2020 to November 2022.
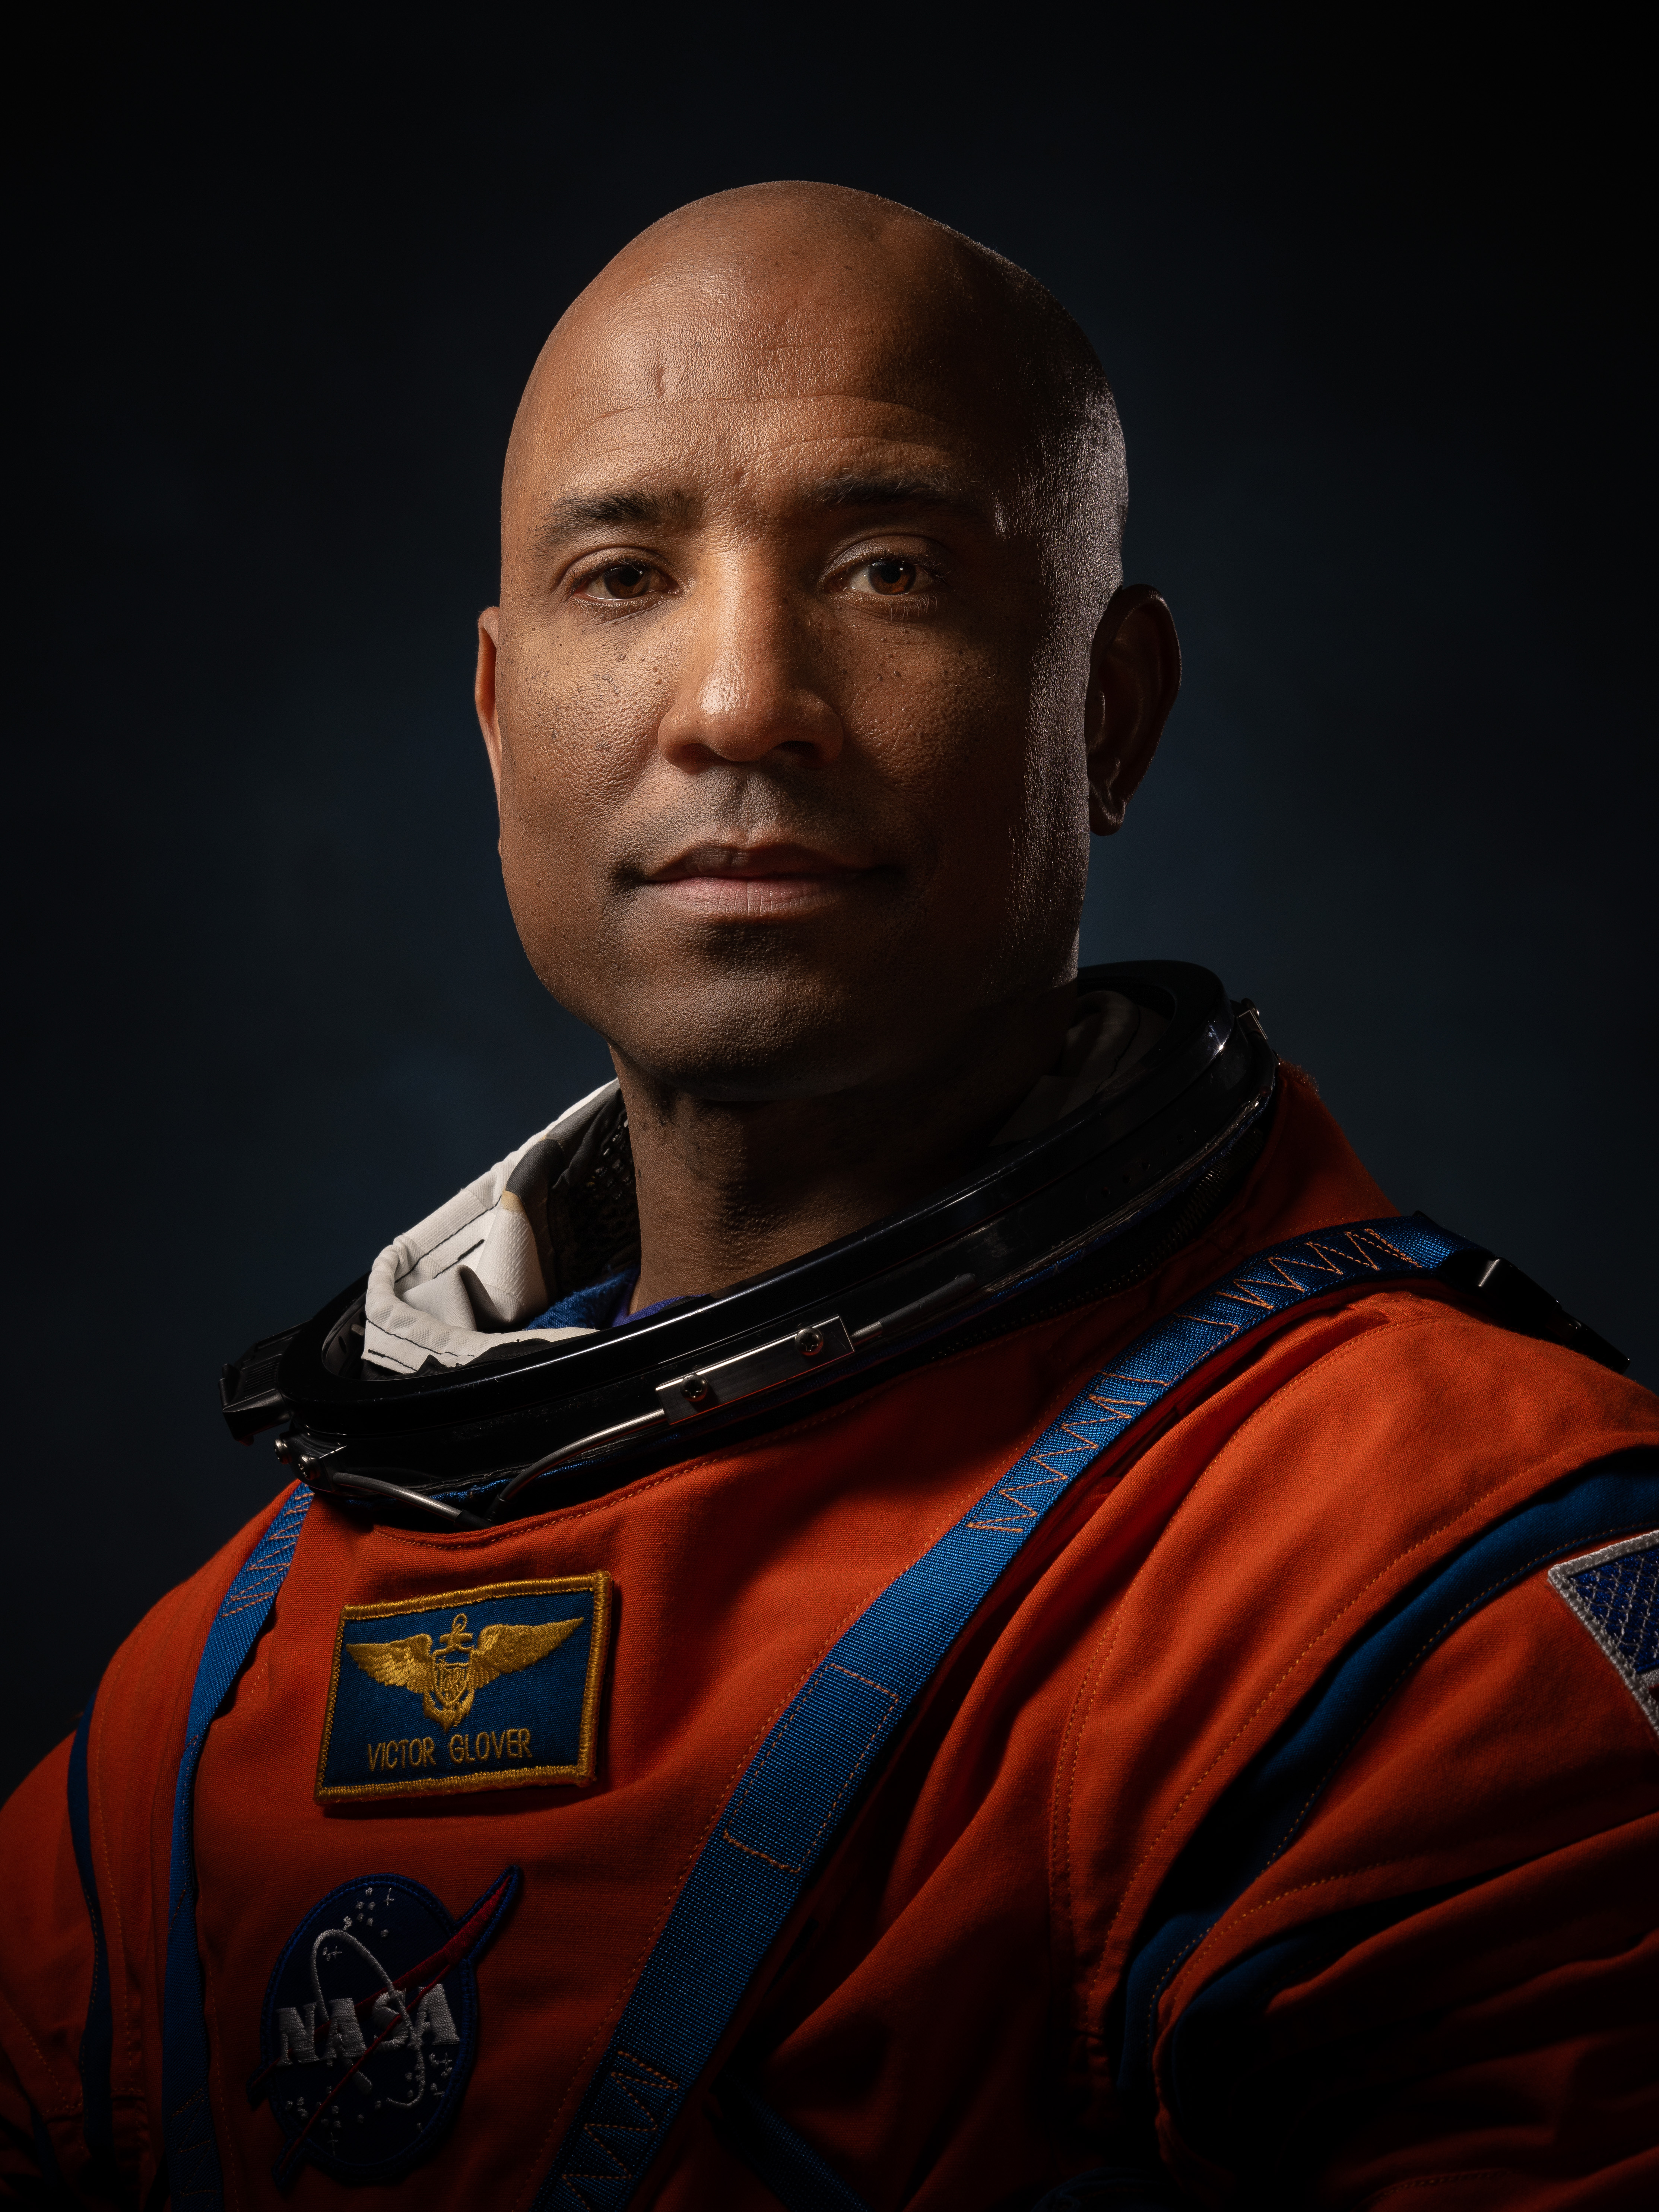
Victor Glover has been assigned to be pilot of NASA’s Artemis II mission around the Moon. Glover was selected as an astronaut in 2013 while serving as a Legislative Fellow in the United States Senate. He most recently served as pilot of the Crew-1 Dragon spacecraft which flew to the International Space Station, where he also was flight engineer for Expedition 64/65. The California native earned an undergraduate engineering degree, is a naval aviator, and was a test pilot in the F/A‐18 Hornet, Super Hornet, and EA‐18G Growler.
NASA Astronaut
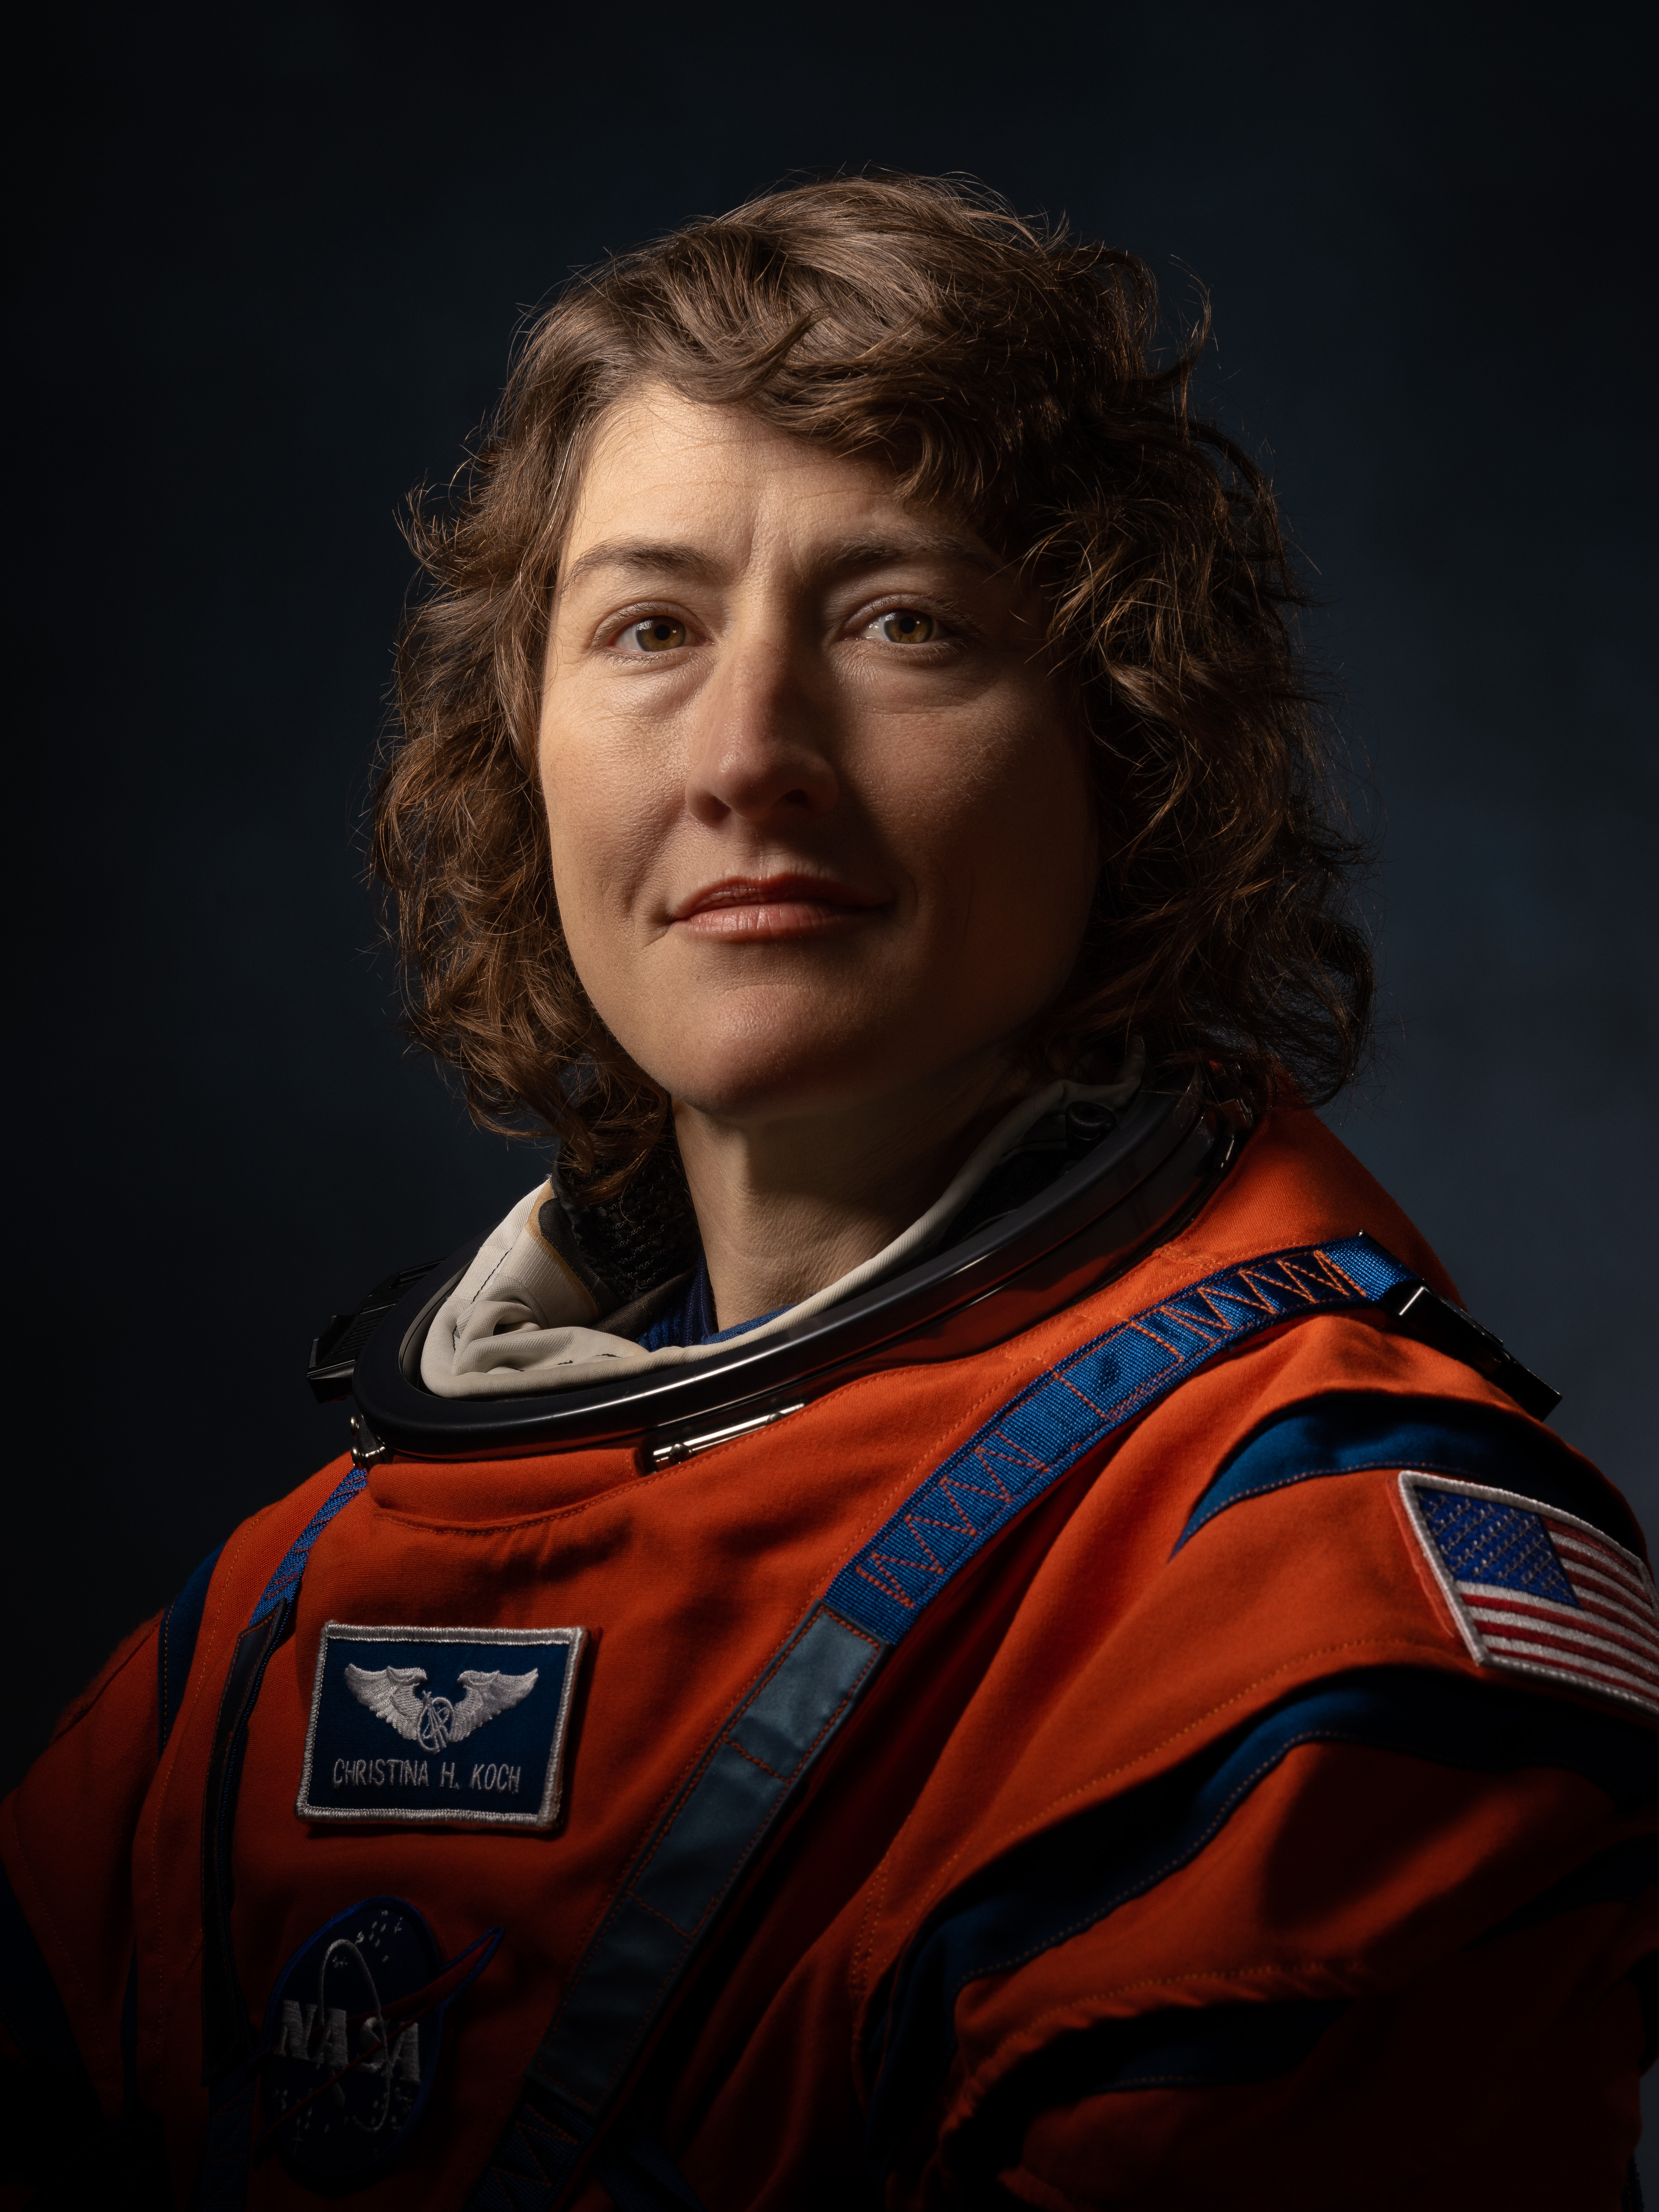
Christina Koch is an explorer and engineer who became astronaut in 2013 and will serve as a mission specialist for NASA’s Artemis II mission. Her previous experience in spaceflight was living and working on the International Space Station for almost all of 2019 in Expeditions 59, 60, and 61. Koch spent a total of 328 consecutive days in space and participated in the first all-female spacewalks. She served as branch chief of the Assigned Crew Branch in the Astronaut Office and did a rotation as assistant for technical integration for the center director at NASA Johnson. Prior to becoming an astronaut, Koch’s experience spanned both space science mission instrument development and remote scientific field engineering in the Antarctic and Arctic.

CSA Astronaut
Born in London, Ontario, Canada, Colonel Jeremy Hansen is a Canadian astronaut and a former fighter pilot. He has extensive experience in mission operations and leadership roles. He has been assigned as a mission specialist for the Artemis II mission, which will make him the first Canadian to fly around the Moon. Hansen was selected as an astronaut in 2009 and completed astronaut candidate training in 2011. He worked as capcom at NASA’s Mission Control Center in Houston and participated in international training missions, including ESA’s CAVES program in 2013 and NASA’s NEEMO 19 underwater mission in 2014. He also took part in several field geology training expeditions, including in Canada’s High Arctic. In 2017, he became the first Canadian to lead a NASA astronaut class.
Countdown Timeline
A launch countdown contains “L Minus” and “T Minus” times. The “L minus” indicates how far away liftoff is in hours and minutes. The “T minus” time is a sequence of events built into the launch countdown. Pauses in the countdown, or “holds,” are built in to allow the launch team to target a precise launch window, and to provide a cushion of time for certain tasks and procedures without impacting the overall schedule. During planned holds in the countdown process, the countdown clock is intentionally stopped and the T- time also stops. The L- time, however, continues to advance.
Below are some of the key events that take place at each milestone after the countdown begins.
All times are approximate for when these milestones occur.
L-49 hours 50 minutes and counting
- L-49H50M – Launch team arrives to stations
- L-49H40M – Countdown clock begins
- L-49H40M – L-42H30M: Liquid oxygen (LOX)/Liquid hydrogen (LH2) system
preparations for vehicle loading - L-45H30M – L-44H: Orion spacecraft powered up
- L-42H20M – L-41H: Core stage powered up
- L-42H10M – L-40H30M: Interim cryogenic propulsion stage (ICPS) powered up
- L-39H45M – L-35H30M: Final preparations of the four RS-25 engines
L-35 hours and counting
- L-34H45M – L-34H10M: ICPS is powered down
- L-33H30M – L-29H30M: Charge Orion flight batteries to 100%
- L-31H30M – L-24H30M: Charge core stage flight batteries
- L-20H15M – L-18H45M: ICPS is powered up for launch
L-16 hours and counting
- L-15H30M – L-14H: All non-essential personnel leave Launch Complex 39B
- L-14H15M – L-12H05M: Air-to-gaseous nitrogen (GN2) changeover and rocket
cavity inerting - L-13H15M – L-11H45M: Ground launch sequencer (GLS) activation
L-13 hours and counting
- L-12H35M – L-9H50M: 2-hour 45-minute built in countdown hold begins
- L-10H50M – Launch team decides “go” or “no-go” to begin tanking
- L-10H50M – L-9H35M: Orion cold soak
- L-10H40M – L-10H35M: Core stage LOX transfer line chilldown
- L-10H40M – L-9H55M: Core stage LH2 chilldown
- L-10H25M – L-9H40M: Core stage LOX main propulsion system chilldown
L-10 hours and counting
- L-9H55M – L-9H25M: Core stage LH2 slow fill start
- L-9H50M – Resume T-Clock from T-8H10M
- L-9H40M – L-9H30M: Core stage LOX slow fill
- L-9H30M – L-6H40M: Core stage LOX fast fill
- L-9H25M – L-8H: Core stage LH2 fast fill
- L-9H05M – L-8H30M: ICPS LH2 chilldown
- L-8H30M – L-7H45M: ICPS LH2 fast fill start
- L-8H – L-7H55M: Core stage LH2 topping
- L-7H55M – terminal count: Core stage LH2 replenish
- L-7H45M – L-7H20M: ICPS LH2 vent and relief test
- L-7H20M – L-7H10M: ICPS LH2 tank topping start
- L-7H05M – terminal count: ICPS LH2 replenish
- L-6H40M – L-6H10M: Orion communications system activated (radio frequency to mission control)
- L-6H40M – L-6H05M: Core stage LOX topping
- L-6H40M – L-6H30M: ICPS LOX main propulsion system chilldown
- L-6H30M – L-5H45M: ICPS LOX fast fill
- L-6H10M – Stage pad rescue
- L-6H10M: – Closeout crew assemble
- L-6H05M – terminal count: Core stage LOX replenish
L-6 hours and counting
- L-6H – Flight crew weather brief
- L-5H45M – L-5H30M: ICPS LOX vent and relief test
- L-5H30M – L-5H10M: ICPS LOX topping
- L-5H10M – terminal count: ICPS LOX replenish
- L-5H10M – All stages replenish
- L-5H10M – Start 1-hour 10-minute built in hold
- L-5H10M – L-4H55M: Closeout crew to white room
- L-4H40M – L-4H10M: Flight crew deployment to pad
- L-4H: Flight crew board Orion
- L-3H40M – L-3H10M: Crew module hatch preps and closure
- L-3H10M – L-2H45M: Counterbalance mechanism hatch sealpress decay
checks - L-2H20M – L-1H40M: Crew module hatch service panel install/closeouts
- L-1H40M – L1H30M: Launch abort system (LAS) hatch closure for flight
- L-1H10M – Launch director brief – rocket & thermal protection system scan results with the imagery console
- L-50M – L-40M: Closeout crew departs Launch Complex 39B
- L-50M – Final NASA test director briefing is held
L-40 minutes and holding
- L-40M – Built in 30-minute countdown hold begins
L-25 minutes and holding
- L-25M – Transition team to Orion to Earth communication loop following final NTD briefing
- L-17M – Launch director polls team to ensure they are “go” for launch
- L-15M – Flight crew visors down
- L-14M – Flight crew short purge verification
T-10 minutes and counting
- T-10M – GLS initiates terminal count
- T-8M – Crew Access Arm retract
- T-6M – GLS go for core stage tank pressurization
- T-6M – Orion ascent pyros are armed
- T-6M – Orion set to internal power
- T-5M57S – Core stage LH2 terminate replenish
- T-5M20S – LAS capability is available
- T-5M20S – NTD lets commander knows LAS capability is available
- T-4M40S – GLS go for LH2 high flow bleed check
- T-4M30S – Flight termination system armed
- T-4M – GLS is go for core stage auxiliary power unit (APU) start
- T-4M – Core Stage APU starts
- T-4M – Core stage LOX terminate replenish
- T-3M30S – ICPS LOX terminate replenish
- T-3M10S – GLS go for purge sequence 4
- T-2M02S – ICPS switches to internal battery power
- T-2M – Booster switches to internal batter power
- T-1M30S – Core stage switches to internal power
- T-1M20S – ICPS enters terminal countdown mode
- T-50S – ICPS LH2 terminate replenish
- T-33S – GLS sends “go for automated launch sequencer” command
- T-30S – Core stage flight computer to automated launching sequencer
- T-12S – Hydrogen burn off igniters initiated
- T-10S – GLS sends the command for core stage engine start
- T-6.36S– RS-25 engines startup
T-0
- Booster ignition, umbilical separation, and liftoff
Inside the terminal countdown, teams have a few options to hold the count if needed.
- The launch team can hold at 6 minutes for the duration of the launch window, less the 6 minutes needed to launch, without having to recycle back to 10 minutes.
- If teams need to stop the clock between T-6 minutes and T-1 minute, 30 seconds, they can hold for up to 3 minutes and resume the clock to launch. If they require more than 3 minutes of hold time, the countdown would recycle back to T-10.
- If the clock stops after T-1 minute and 30 seconds, but before the automated launch sequencer takes over, then teams can recycle back to T-10 to try again, provided there is adequate launch window remaining.
- After handover to the automated launch sequencer, any issue that would stop the countdown would lead to concluding the launch attempt for that day.
Ascent and Mission Timeline
The times below are subject to change based on the launch date. Please follow the NASA+ schedule during the mission for the most up to date times.
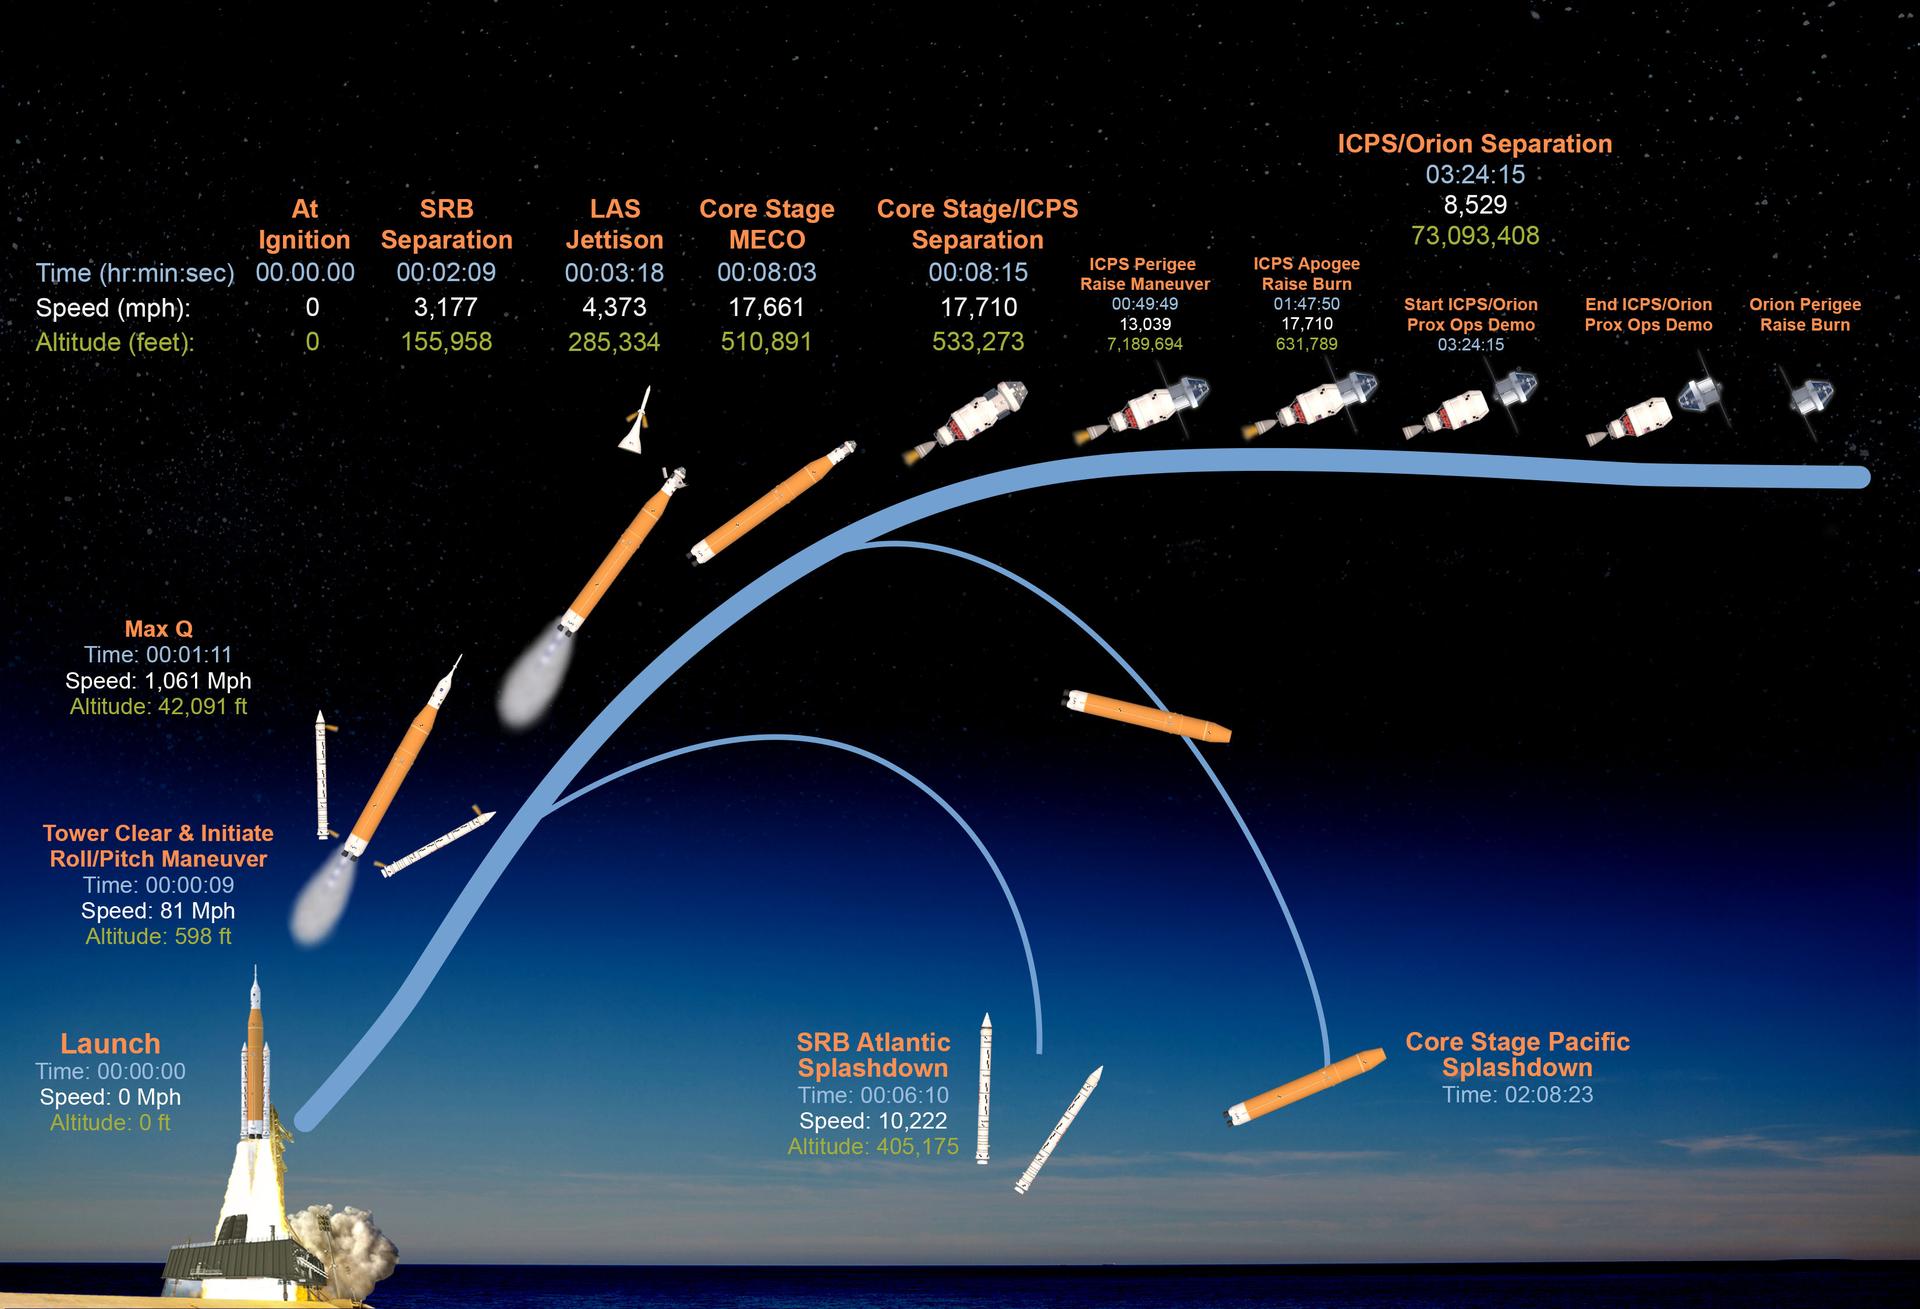
+00:09 SLS clears the launch tower and initiates a roll/pitch maneuver
+00:56 SLS reaches supersonic speed
+01:10 Maximum dynamic pressure
+02:08 Solid Rocket Booster separation
+03:18 Launch abort system jettison
+08:06 SLS core stage main engine cutoff
+08:18 Core stage separates from ICPS (1381×17-mile orbit)
+08:28 ICPS RL10 nozzle extension
+20:00 Orion solar arrays deploy
+49:00 perigee raise maneuver (1381×115 statute miles)
At this point, Orion and ICPS are in a safe orbit
+01:47:57 Apogee raise burn (43730×0 statute miles)
Orion is now in a high Earth orbit that will last through the translunar injection
+03:24:15 Orion separates from ICPS, proximity operations demonstration begins
+04:35 – Proximity operations conclude
+04:52 Orion upper stage separation burn
+05:00 Disposal burn of ICPS into the Pacific Ocean
+05:02 – ICPS disposal burn, setting the ICPS up for a splashdown in the Pacific Ocean
+05:04 CubeSats deploy at one minute intervals
+0/13:44 – Perigee raise burn
Starting here, each entry represents elapsed time since liftoff, as in 1/01:42 representing 1 day, 1 hour, 42 minutes.
Flight Day 2
+1/01:37 Translunar injection burn
+1/23:25 Orbital Trajectory Correction Burn
Flight Day 3
+2/00:07 – Orbital trajectory correction burn #1
+2/02:05 – Crew CPR demonstration
+2/05:25 – Communications test through Deep Space Network
Flight Day 4
+3/00:12 – Orbital trajectory correction burn #2
+3/03:40 and +3/05:45 – Review lunar flyby imaging plan (in two shifts)
Flight Day 5
+3/20:30 – Rapid spacesuits donning and pressurization demonstration
+4/05:23 – Orbital trajectory correction burn #3
+4/06:59 – Orion enters lunar sphere of influence
Flight Day 6
+04/22:00 – Lunar flyby and observation begins
+5/01:23 Closest approach to the Moon
+5/01:26 – Crew reaches maximum distance from Earth for this mission
Flight Day 7
Flight Day 7 will primarily be off duty time for the crew
+5/19:47 – Orion exits lunar sphere of influence
+5/21:10 – Lunar flyby science debrief
+6/04:23 – Return trajectory correction burn #1
Flight Day 8
+7/01:50 – Radiation shielding demonstration
+07/04:20 – Manual piloting demonstration
Flight Day 9
+7/23:15 and +8/02:10 – Orthostatic intolerance garment assessment (in two shifts)
+8/04:33 – Return trajectory correction burn #2
Flight Day 10
+8/20:33 – Return trajectory correction burn #3
+8/22:30 – Crew begins working through entry checklist, including donning entry suits
+9/01:13 – Orion crew and service module separation
+9/01:16 – Crew module raise burn
+9/01:33 – Entry interface, while still 400,000 feet above Earth
The following milestones take place as Orion reaches specific altitudes:
- Forward bay cover deploys at an altitude of less than 36,000 feet
- Drogue parachutes deploy at 25,000 feet in altitude
- Pilot parachutes deploy at 9,500 feet in altitude and pull out the three main parachute
+9/01:46 – Splashdown
Post Splashdown
+9/01:53 – Crew module reaction control system safing
+9/02:01 – Orion Final power down
Following splashdown, the crew will be on the recovery ship within two hours.
Weather Criteria
The weather guidelines for Artemis II identify conditions to safely roll out to the pad and launch the agency’s Space Launch System and Orion spacecraft.
These guidelines include criteria for various meteorological conditions. Weather teams refer to these criteria while monitoring the elements and implement constraints when conditions could affect rollout or liftoff. The criteria are broadly conservative and developed to avoid possible adverse outcomes.
If other potential weather hazards exist beyond those in the guidelines, the launch weather team will report the hazardous condition to the launch director, who will determine whether launching would expose Artemis I to a weather hazard.
Basic Weather Criteria for Roll to Pad
Do not roll to launch pad if the lightning forecast is greater than 10% within 20 nautical miles of the launch area during rollout.
Do not roll to launch pad if there is greater than a 5% chance of hail forecast in the launch area during rollout.
Do not roll to launch pad if sustained wind is forecast to be greater than 40 knots or peak wind greater than 45 knots.
Do not roll to launch pad if temperature is less than 40 degrees Fahrenheit or exceeds 95 degrees Fahrenheit at the launch area during rollout.
Basic Weather Launch Criteria at the Pad for Liftoff
Temperature
Do not initiate tanking if the 24-hour average temperature at both 132.5 feet and 257.5 feet is less than 41.4 degrees Fahrenheit.
Do not launch if the temperature at both 132.5 feet and 257.5 feet exceeds 94.5 degrees Fahrenheit for 30 consecutive minutes.
Do not launch if the temperature at both 132.5 feet and 257.5 feet drops below a defined temperature constraint for 30 consecutive minutes. The temperature constraints range from 38 degrees Fahrenheit to 49 degrees Fahrenheit, depending upon the wind and relative humidity. Higher wind and relative humidity result in a colder temperature constraint.
Wind
Do not launch if the peak liftoff winds exceed a range of 29 knots through 39 knots between 132.5 feet and 457.5 feet, respectively.
Do not launch through upper-level wind conditions that could lead to control problems for the launch vehicle.
Precipitation
Do not launch through precipitation.
Lightning
Do not initiate tanking of the core stage or ICPS if the lightning forecast is greater than 20% within 5 nautical miles of the launch area during tanking.
Do not launch for 30 minutes after lightning is observed within 10 nautical miles of the flight path, unless specified conditions related to cloud distance and surface electrical fields can be met.
Do not launch if the flight path is within 10 nautical miles of the edge of a thunderstorm that is producing lightning until 30 minutes after the last lightning discharge is observed.
Do not launch if the flight path is within 10 nautical miles of an attached thunderstorm anvil cloud unless temperature, time since last lightning, and distance criteria can be met, and if within 3 nautical miles, maximum radar reflectivity criteria also are satisfied.
Do not launch if the flight path is within 10 nautical miles of a detached thunderstorm anvil cloud unless temperature, time since lightning and/or detachment, and distance criteria can be met, and if within 3 nautical miles, maximum radar reflectivity criteria also are satisfied.
Clouds
Do not launch if the flight path is within 3 nautical miles of a thunderstorm debris cloud for 3 hours, unless temperature, surface electric field, and radar reflectivity criteria can be met.
Do not launch if the flight path is within 5 nautical miles of disturbed weather clouds that extend into freezing temperatures and contain moderate or greater precipitation.
Do not launch through a cloud layer that is within 5 nautical miles, greater than 4,500 feet thick, and extends into freezing temperatures, unless specific criteria related to radar reflectivity and cloud altitude can be met.
Do not launch if the flight path is within 10 nautical miles of cumulus clouds with certain distance and height criteria. There are additional caveats that could be met for clouds not reaching -5 degrees Celsius.
Do not launch through cumulus clouds formed as the result of or directly attached to a smoke plume, unless more than 60 minutes passed since detachment from the smoke plume.
Do not launch for 15 minutes if field mill instrument readings within 5 nautical miles of the launch pad equal or exceed +/- 1,500 volts per meter, or +/- 1,000 volts per meter, unless specific caveats related to clouds within 10 nautical miles of the flight path can be met.
Solar Activity
Do not launch during severe or extreme solar activity resulting in increased density of solar energetic particles with the potential to damage electronic circuits and make radio communication with the launch vehicle difficult or impossible.
Landing, Recovery Weather Criteria
For splashdown and recovery operations, evaluation of weather criteria at a particular landing site assumes that adequate satellite, radar, and surface weather observer surveillance must be available.
The primary driver for nominal splashdown recovery success is significant wave height, wind speed, and cloud coverage and visibility.
To recover the crew and Orion spacecraft at the recovery site, there cannot be precipitation or thunderstorms within 30 nautical miles. Significant wave height should be less than six feet and winds under 25 knots to deploy the boats that will help recover the crew.
Deep Space Exploration Systems
SLS (Space Launch System)
NASA’s SLS is a super heavy-lift rocket that provides the foundation for human exploration beyond Earth orbit. SLS is the only rocket that can send NASA’s Orion spacecraft, four astronauts, and large cargo directly to the Moon on a single launch on future missions. Offering more payload mass, volume, and departure energy than any other single rocket, SLS can support a range of mission objectives while reducing mission complexity.
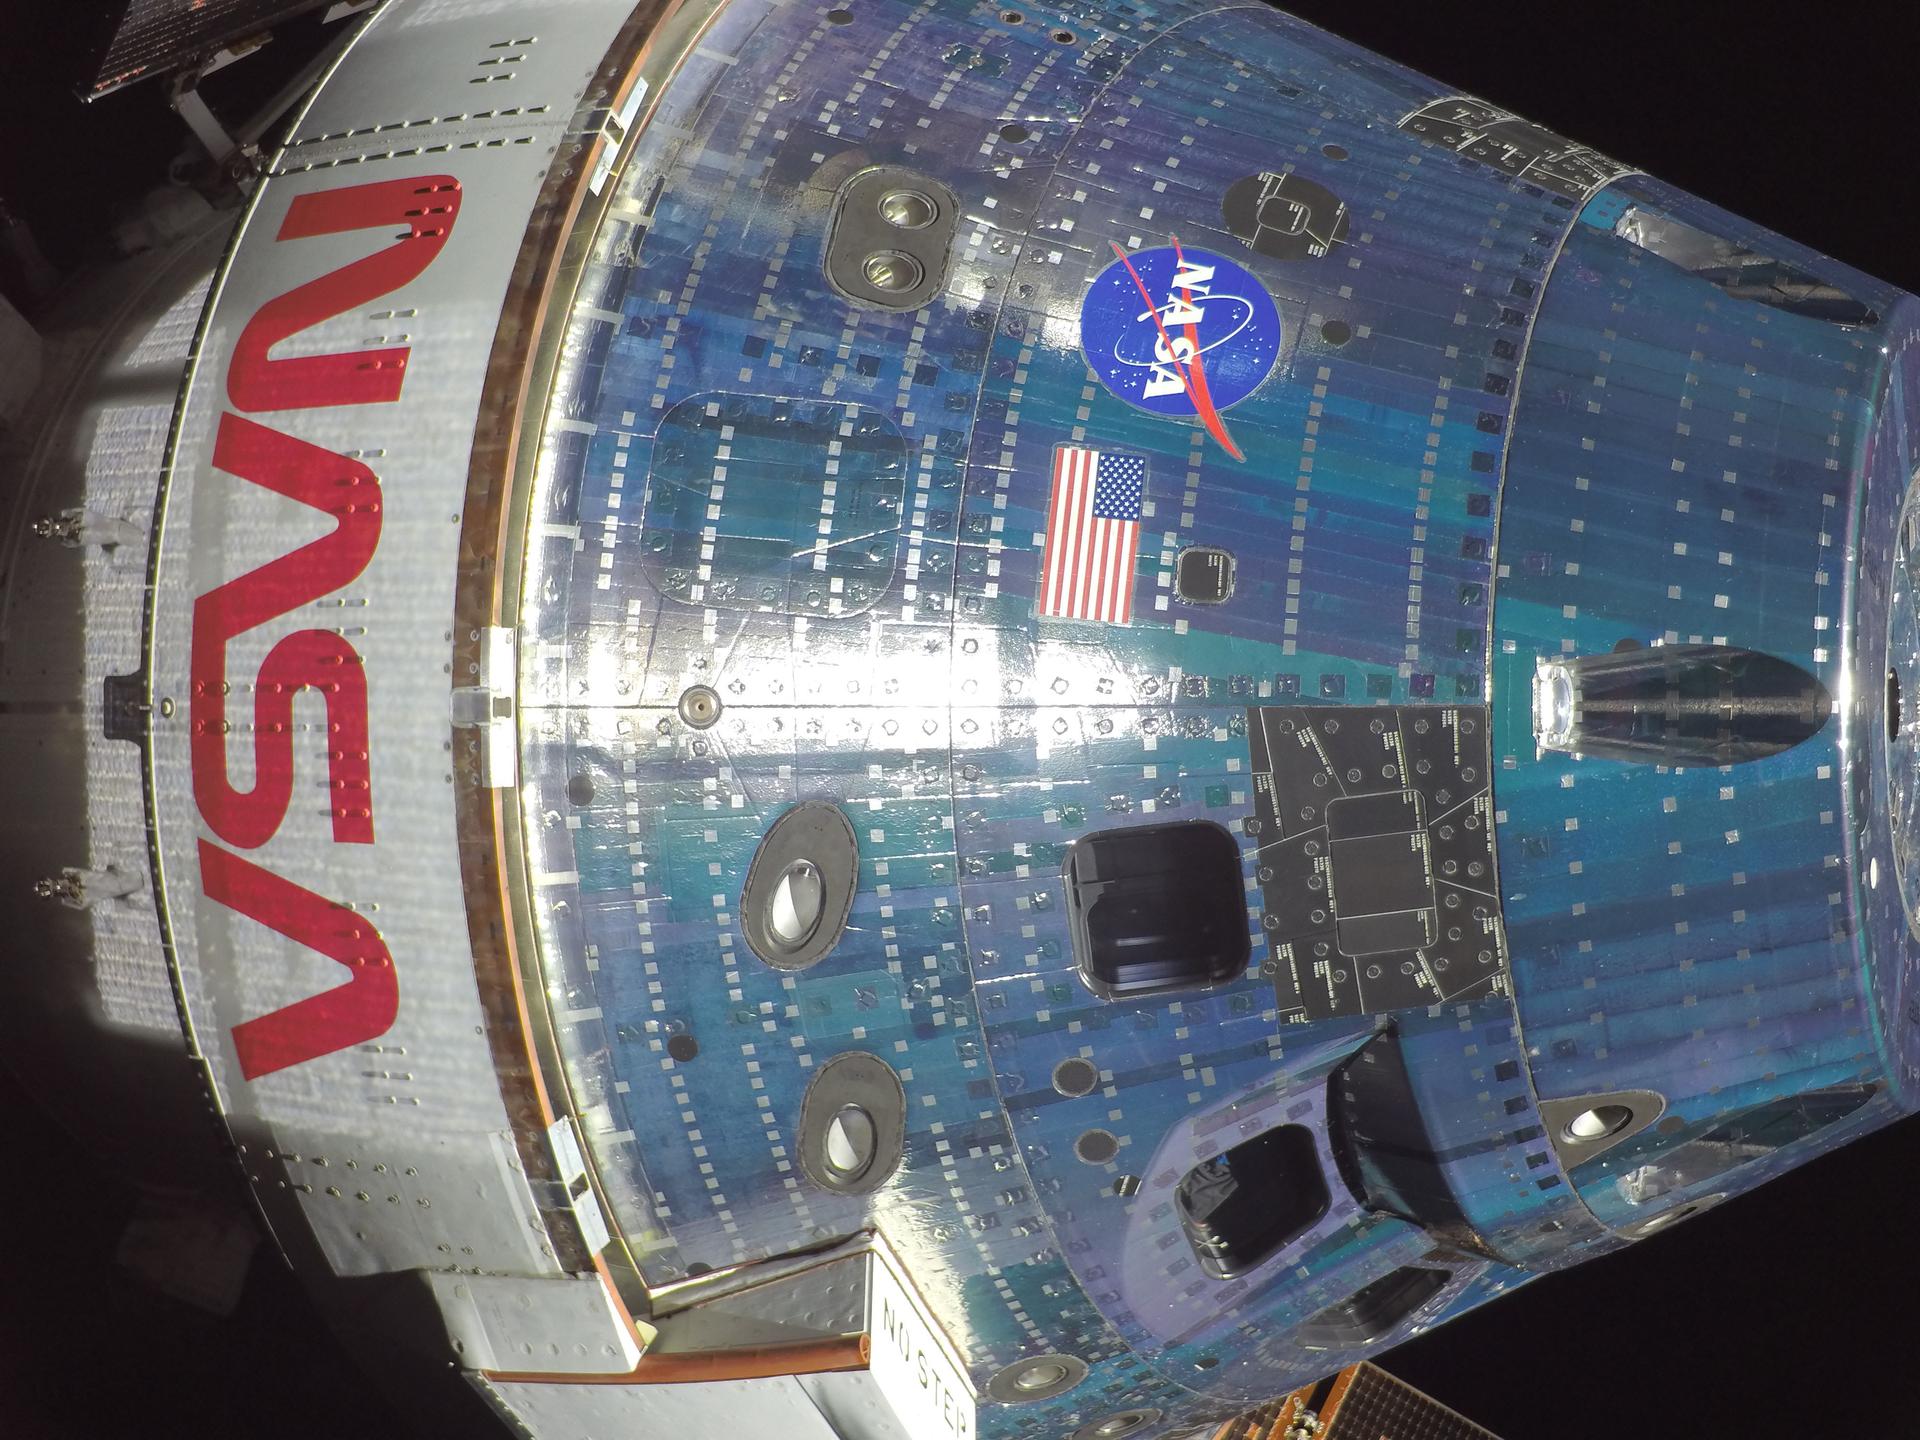
Orion
NASA’s Orion is designed to carry crew from Earth on the journey to deep space and bring them safely home. It has both a crew module and a service module. The launch abort system, positioned at the top of the spacecraft, is only used to pull the crew module – and the astronauts inside it – safely away from the rocket in the event of an emergency, and will be jettisoned after a successful launch.
Exploration Ground Systems
Based at NASA’s Kennedy Space Center in Florida, the Exploration Ground Systems team develops and operates the systems and facilities needed to process and launch rockets and spacecraft for NASA’s Artemis missions. These systems play a primary role in assembly, launch, and recovery of rockets and spacecraft. It has helped transform NASA Kennedy from a historically government-only launch complex to a spaceport that can handle several different kinds of spacecraft and rockets – both government and commercial.
Space Communications & Navigation
Artemis missions will rely on NASA’s Near Space Network and Deep Space Network for comprehensive communications and navigation services. The networks, overseen by the SCaN (Space Communications and Navigation) Program, will use worldwide network infrastructure and relay satellites to provide seamless communications and tracking support as Orion launches, orbits Earth, journeys to the Moon, and returns home. During Artemis II, NASA will test an advanced communications capability: laser communications, which use infrared light, rather than radio waves, to transmit data. Infrared light’s shorter wavelengths allow spacecraft to pack significantly more data into each transmission, translating to more discoveries.
NASA’s Near Space Network
NASA’s Near Space Network, managed by NASA’s Goddard Spaceflight Center in Greenbelt, Maryland, provides a suite of communications and navigation services through commercial and government infrastructure. The network will provide communications and navigation services during launch and navigation services at various points on the journey to the Moon. Additionally, as Orion journeys back to Earth, the Near Space Network will provide communications and navigation services.
Using the Tracking and Data Relay Satellite fleet in geosynchronous orbit and a global network of Earth-based antennas, the Near Space Network will provide services for launch and Earth orbit, as well as during Orion’s re-entry and splashdown on Earth.
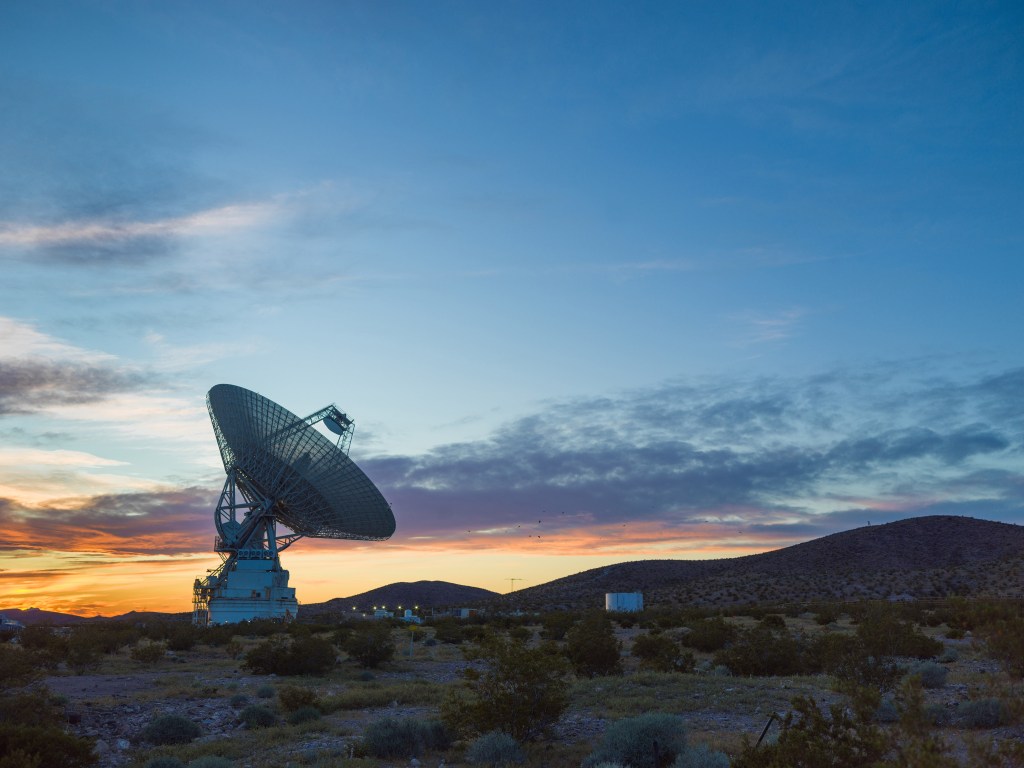
NASA’s Deep Space Network
The Deep Space Network, managed by NASA’s Jet Propulsion Laboratory in Southern California, will handle communications beyond low Earth orbit. The Deep Space Network consists of three facilities at Goldstone, near Barstow, California; near Madrid, Spain; and near Canberra, Australia. The strategic placement of these sites permits constant communication with spacecraft as Earth rotates, allowing one site to immediately pick up the spacecraft’s signal as it exits another’s line of sight.
When Orion travels to and around the Moon, mission control will depend on the Deep Space Network to communicate with the astronauts, send data to Earth, and command the spacecraft.
Throughout each Artemis mission, the SLS rocket, ICPS, and Orion spacecraft will be communicating with and tracked by multiple space-based and Earth-based assets. The networks will work collectively to enable the critical exchange of data between mission controllers on Earth and the Orion spacecraft. This includes all videos, images, astronaut communications, and any science data Orion captures.
Mission Personnel, Management
The primary teams responsible for supporting the mission include the mission management team, the launch control team, the flight control team, and the landing and recovery team. The mission management team is responsible for reviewing mission status and risk assessments for issues that arise and making relevant decisions. The launch control, flight control, and landing and recovery teams are responsible for operations throughout the mission phases.
John Honeycutt
Mission Management
Team Chair
John Honeycutt is the chair of the Artemis II mission management team (MMT). In this role – with the help of recommendations and technical support from the mission management team members – he has decision-making authority for near-real-time decisions with respect to risk acceptance on safety of flight and mission success issues. He also is the interface between real-time operations activities and stakeholders across the agency. The MMT is the decision-making body responsible for risk trades that result in decisions to operate outside of the rules and criteria established preflight.
Prior to his appointment, Honeycutt was the manager of NASA’s SLS (Space Launch System) Program at the agency’s Marshall Space Flight Center in Huntsville, Alabama.
Previously, Honeycutt served as the SLS deputy chief engineer, deputy manager for the SLS stages office, and manager of the space shuttle external tank project.

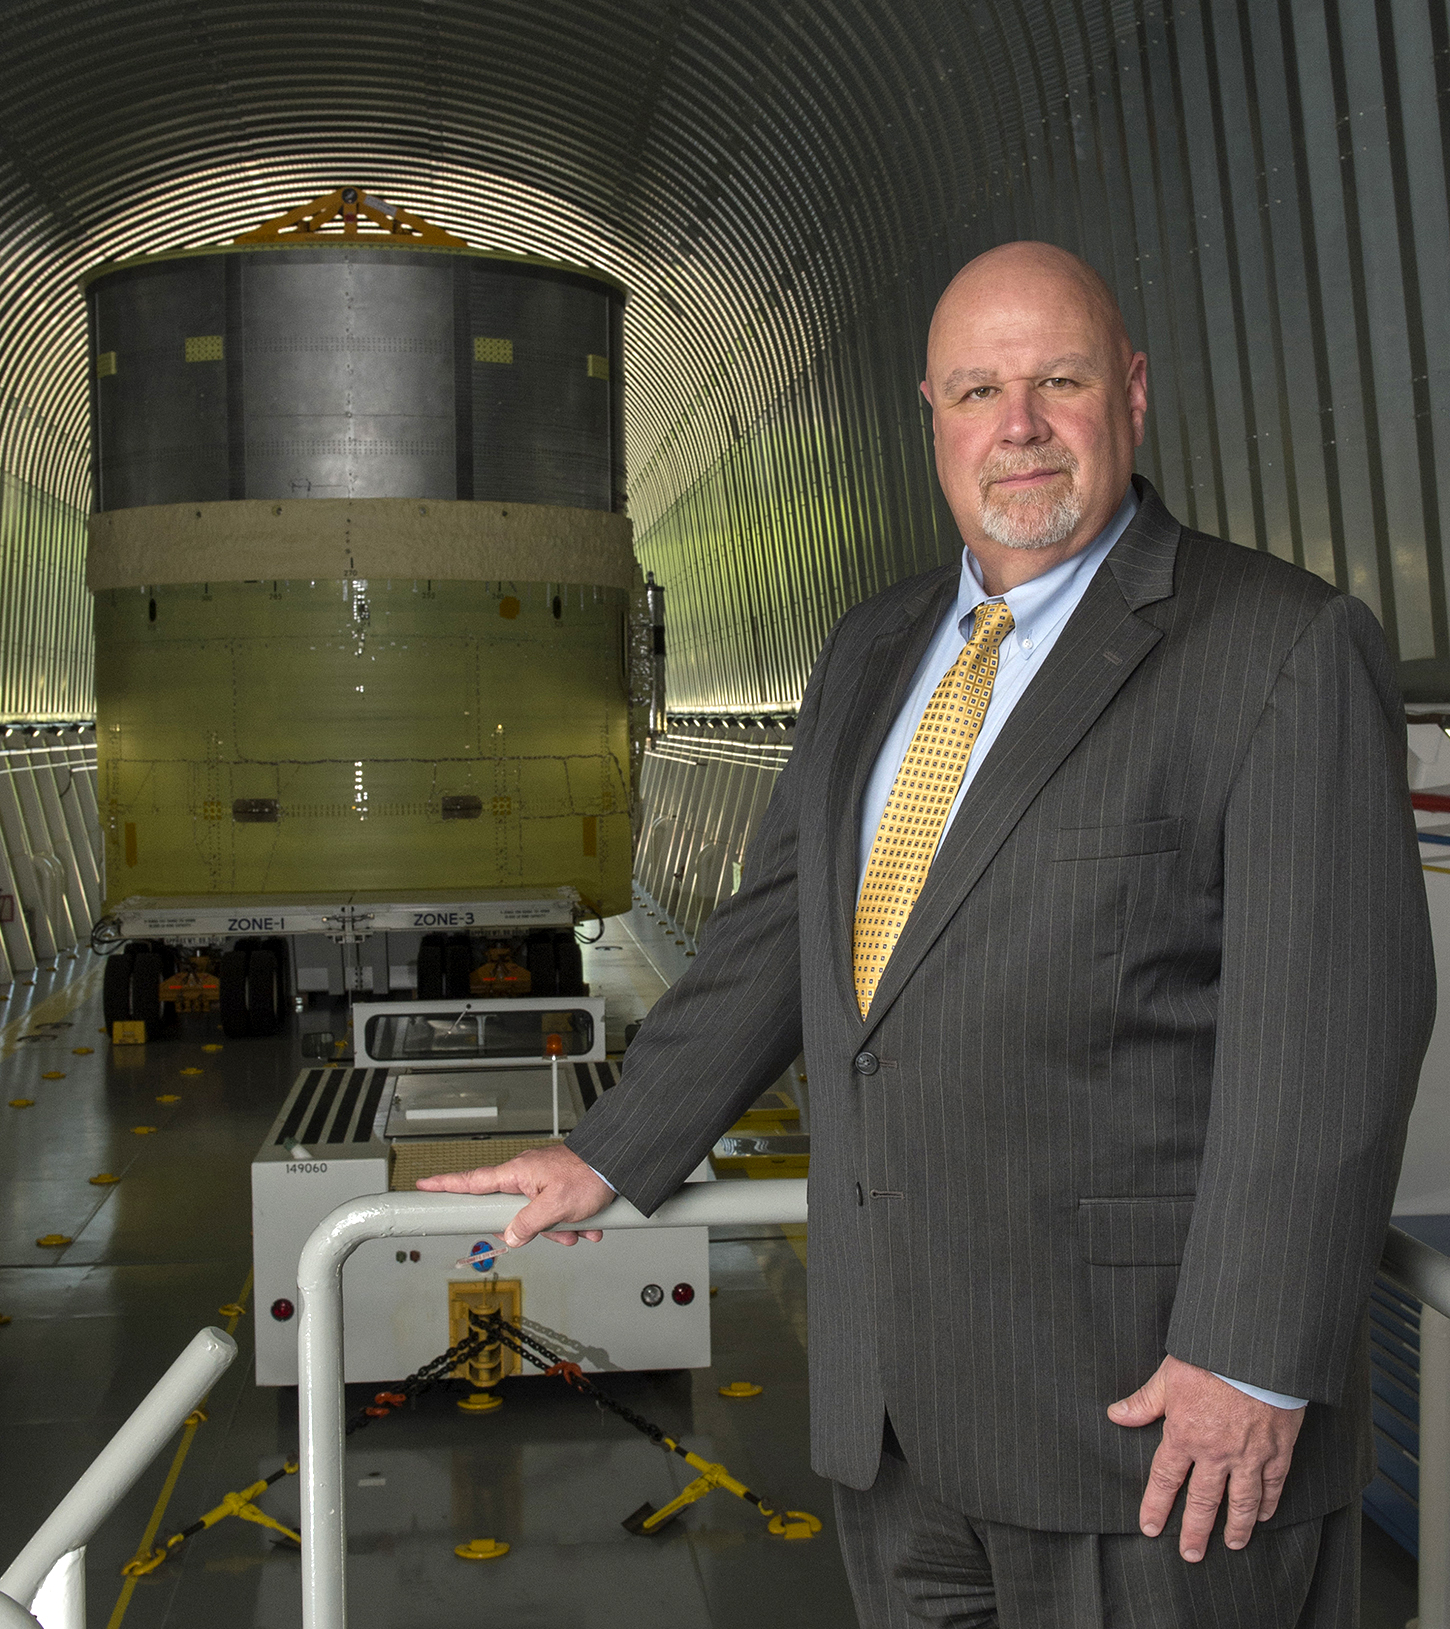
Matt Ramsey
Mission Manager
As the mission manager for Artemis II, Matt Ramsey is charged with helping to define the requirements and priorities for the missions and certifying that the hardware and operations needed to support flight are ready. Ramsey brings operational experience and expertise in design, development, testing, and evaluation to the preparations NASA is making for Artemis II. Previously, Ramsey managed the SLS Engineering Support Center for Artemis I. He began his career in the intelligence and defense sectors before joining the space agency in 2002 to work on guidance, navigation, and control for the X-37 Approach and Landing Test Vehicle. Ramsey also worked on the design of the Ares I and V rockets as part of NASA’s Constellation Program before transitioning in 2010 to the SLS Program in support of the chief engineer at NASA Marshall.
Charlie Blackwell-Thompson
Launch Director
Charlie Blackwell-Thompson serves as Artemis launch director She led the countdown and liftoff of SLS and Orion during Artemis I. She also serves as the cross-program lead to the launch integration team responsible for integration and coordination of launch operations across the three programs: SLS, Orion, and EGS. In her role as launch director, she manages the development of all launch countdown plans; philosophy; launch and scrub turnaround procedures; schedules; and training approaches.
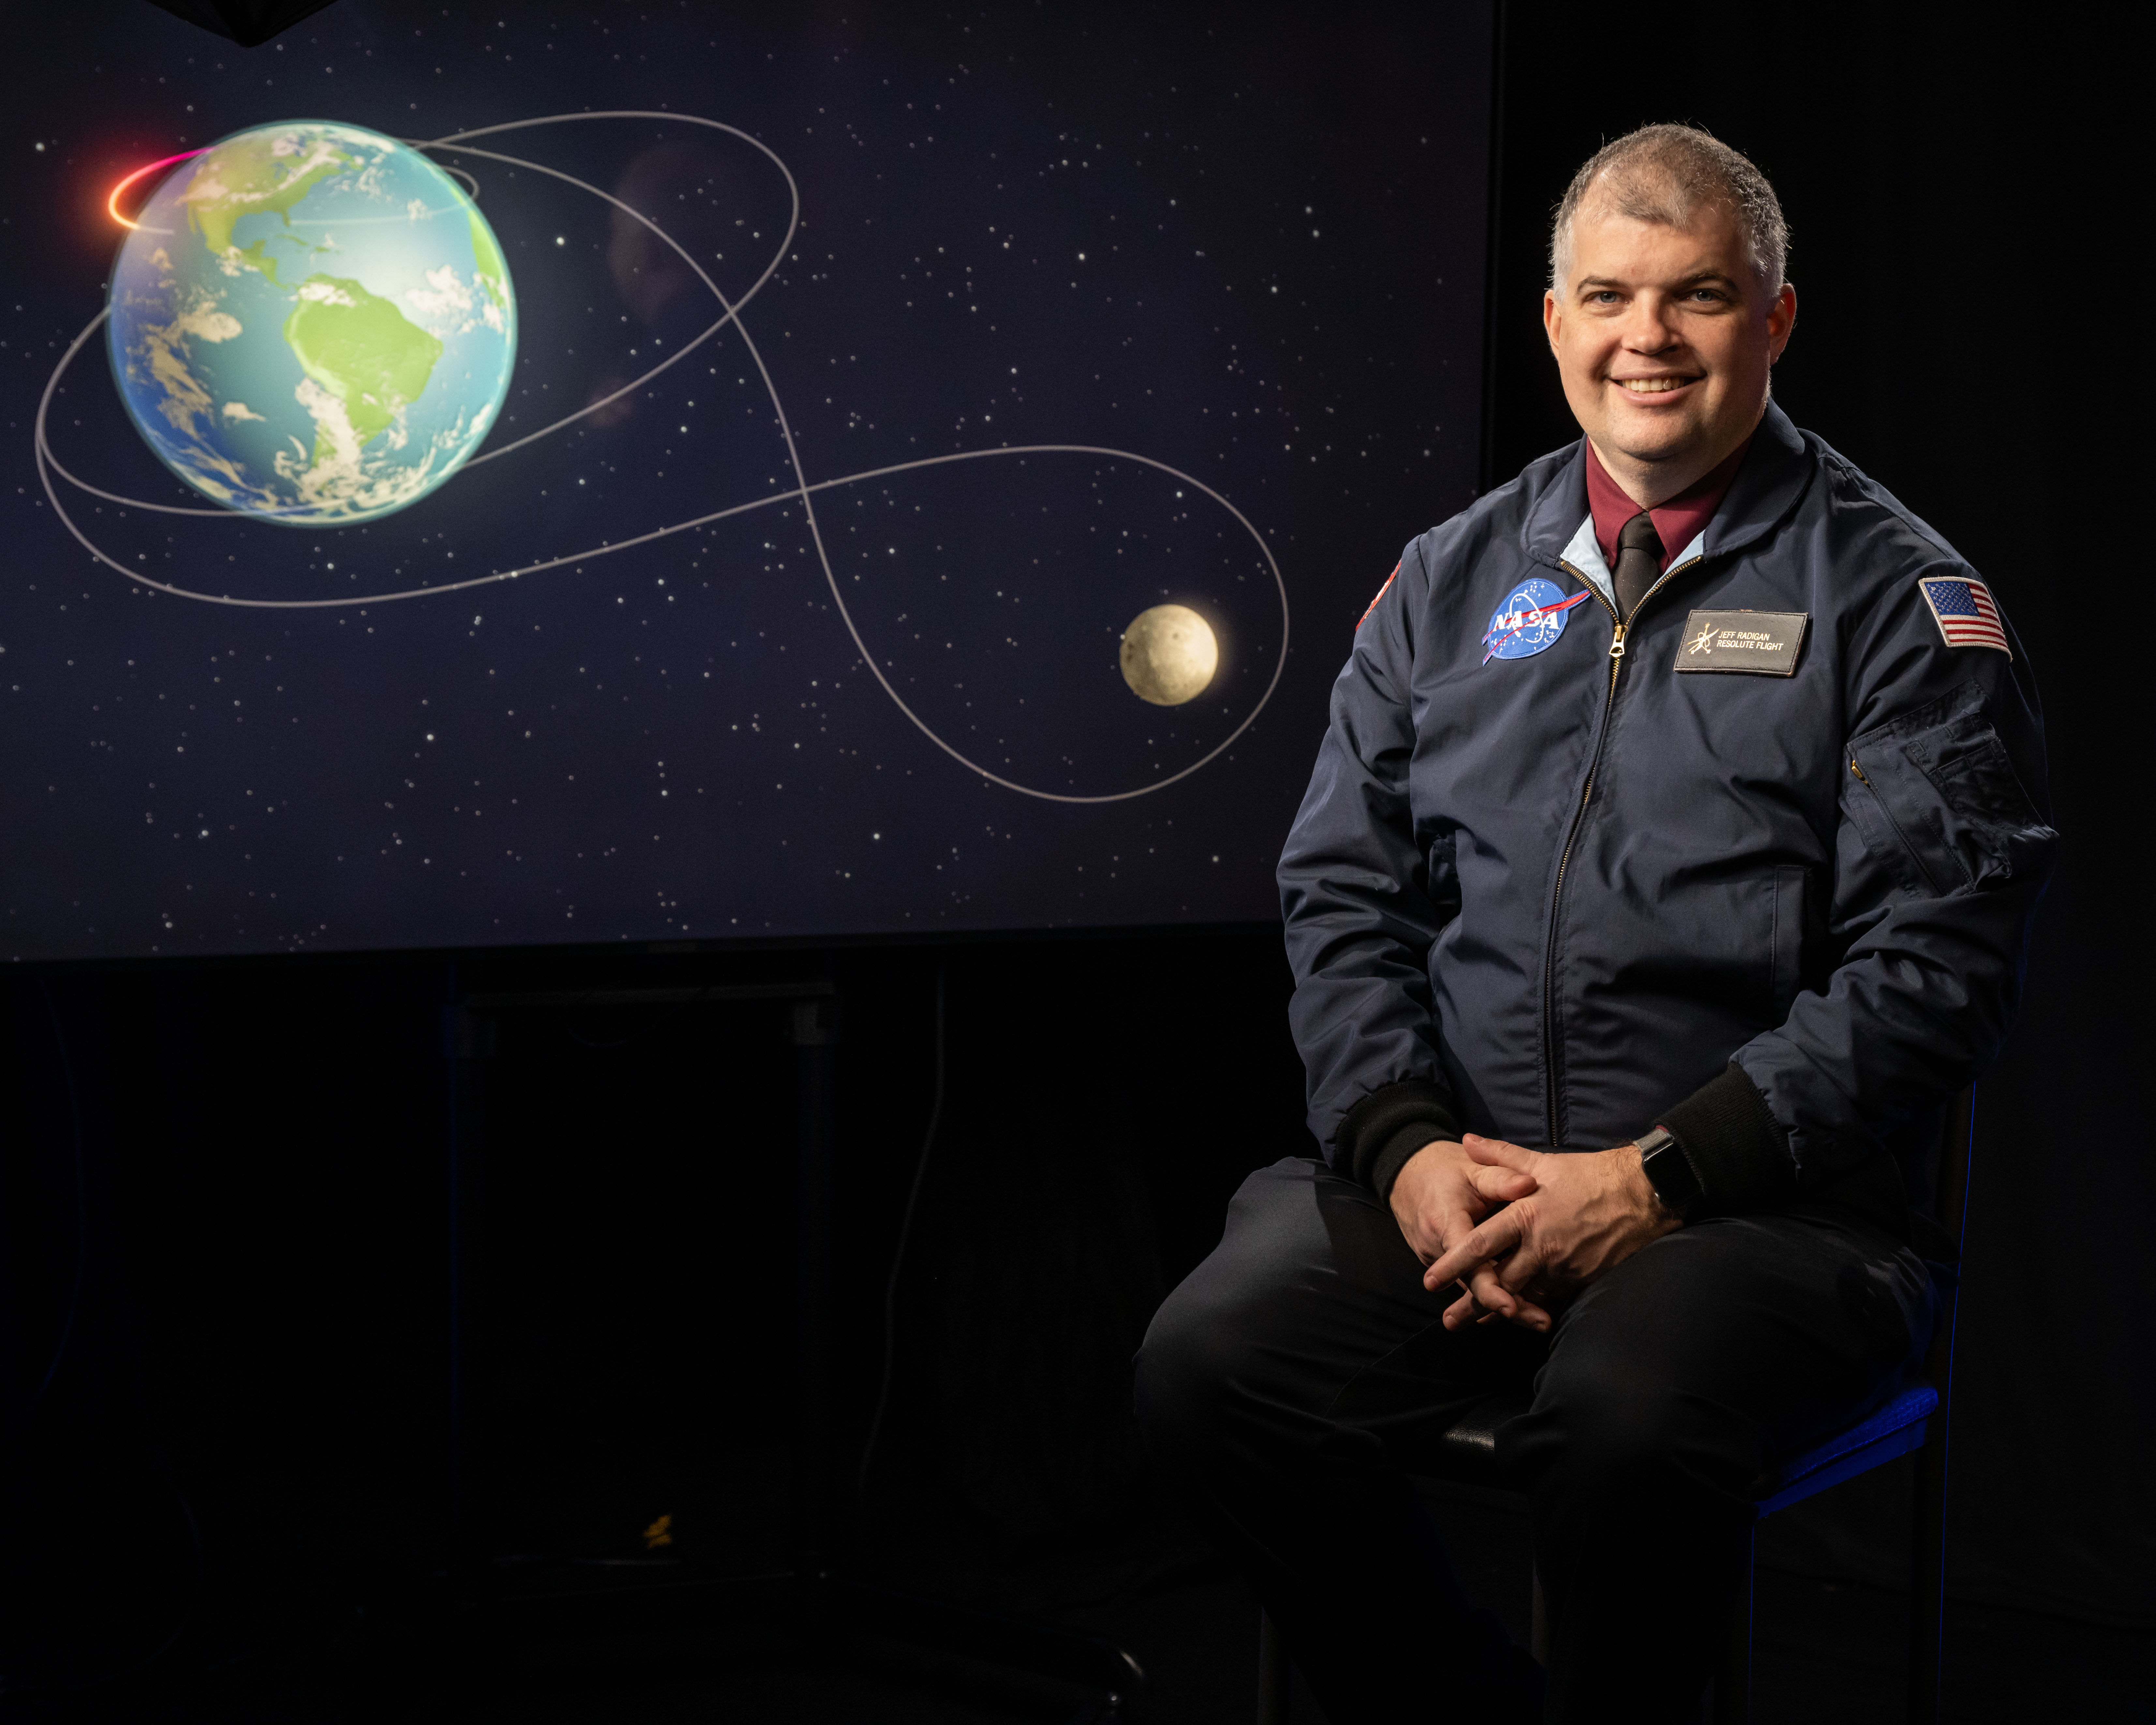
Jeff Radigan
Lead Artemis II Flight Director
Jeff Radigan joined NASA in 2005 as a flight controller for the International Space Station power systems. He had a critical leadership role in deploying and managing solar array operations through 17 space station assembly missions. In 2014, Radigan was selected as a NASA flight director, and assumed responsibility for commanding space station operations from the Mission Control Center at NASA Johnson. He served as lead flight director for Expedition 48 and led the extravehicular activities to repair the Alpha Magnetic Spectrometer. In 2018, Radigan transitioned to supporting Artemis and was among the flight directors supporting Artemis I. As lead flight director for Artemis II, Radigan has run simulations and prepared systems leading up to launch, and helped to ensure the crew has everything they need for flight. He is responsible for building the mission timeline, developing procedures and flight rules that guide spacecraft operations, training the flight control teams, and carrying out the plan.
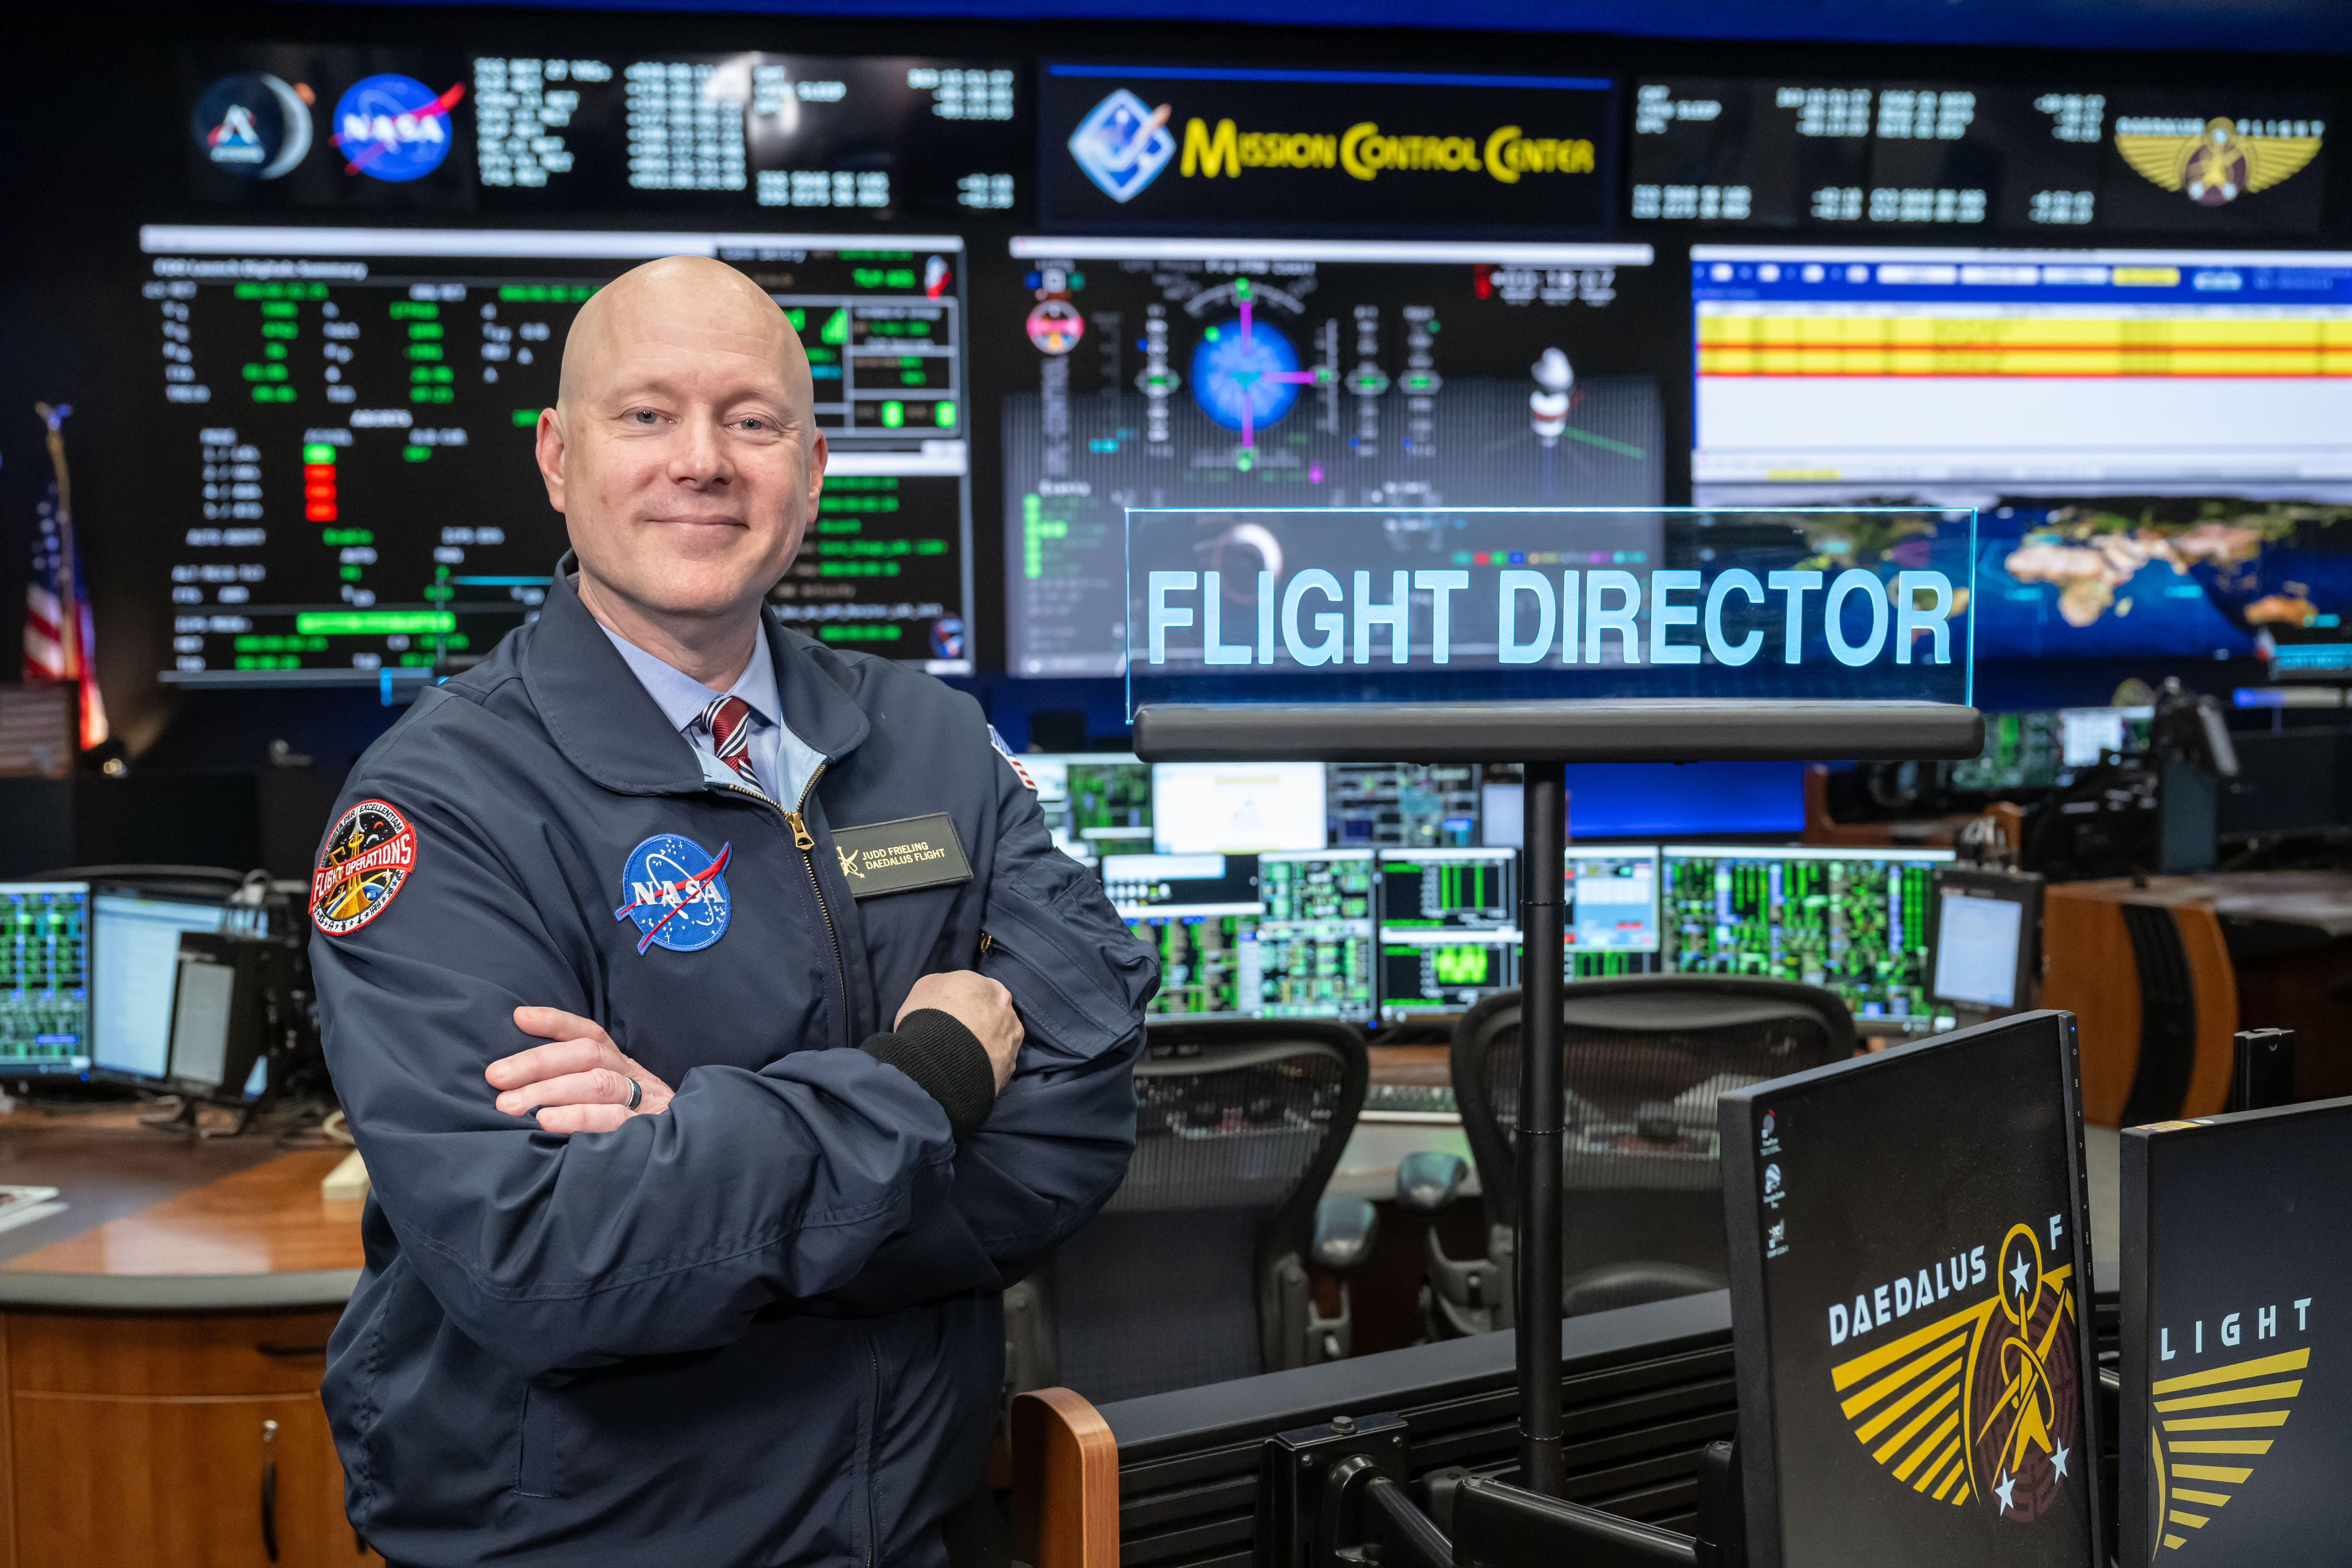
Judd Frieling
Ascent Flight Director
Judd Frieling will serve as the Artemis II ascent flight director, overseeing the crew’s launch and ascent, including the performance of SLS core stage engines, solid rocket boosters, and propulsion systems through Orion’s separation from the ICPS. A certified flight director since 2011, Frieling has logged over 4,500 hours in Mission Control supporting more than 40 space station expeditions, led multiple visiting vehicle missions and spacewalks, and served as lead flight director for Expeditions 38 and 51. Most recently, he directed ascent and entry for Artemis I, including several shifts during its 25-day mission. A Texas native, Frieling holds a bachelor of science in aerospace engineering from The University of Texas at Austin.
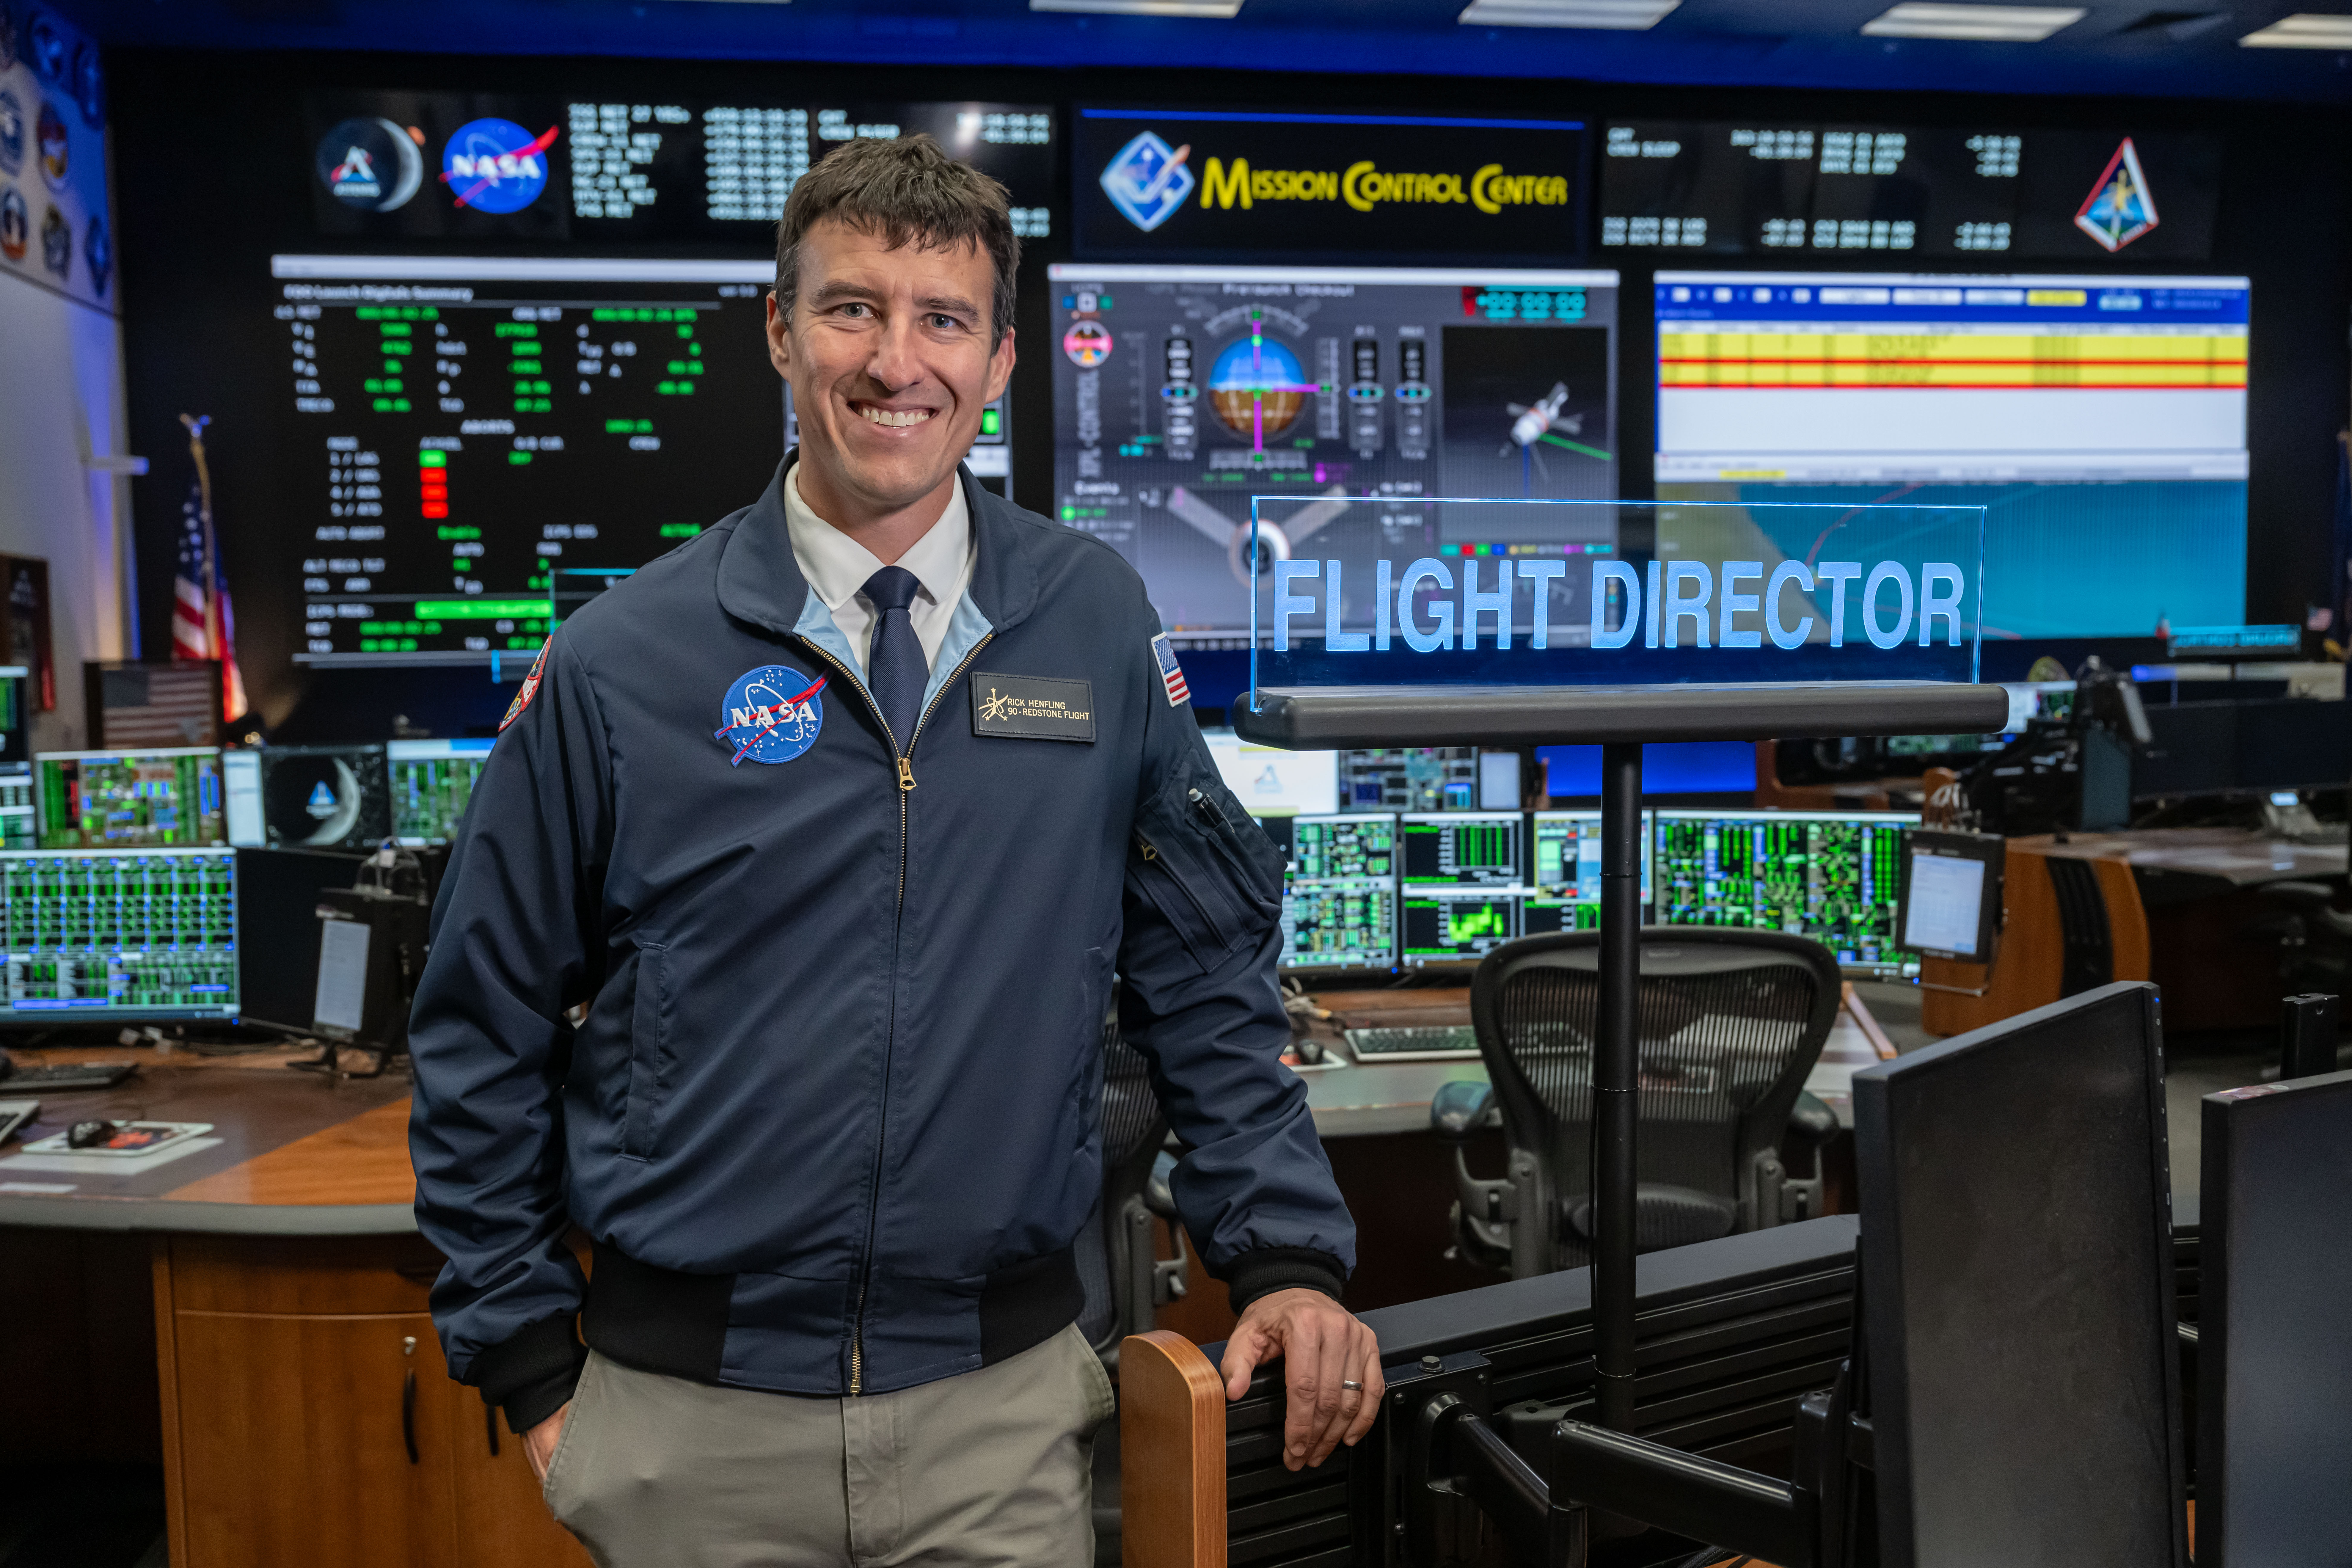
Rick Henfling
Entry Flight Director
Rick Henfling will serve as an Artemis II flight director, as part of NASA’s Flight Operations Directorate. As part of his duties leading the entry team, Henfling and his team will monitor weather forecasts for landing, watch over Orion’s systems through the dynamic entry phase, and ensure the spacecraft is safely shutdown before handing over operations to the recovery team. The Ohio native currently works on-console in support of increment operations for the International Space Station program, having previously executed spacewalks and visiting vehicle arrivals and departures, as well as serving as the Lead International Space Station Flight Director for Expedition 60. He is a member of both the Artemis and Boeing Starliner Flight Director cadres, having supported the uncrewed Artemis I and Starliner OFT-2 (Orbital Flight Test-2) missions in 2022. More recently, he supported the Starliner Crewed Flight Test mission in 2024, where he served as the entry flight director. Henfling graduated from the University of Dayton in Ohio with a bachelor of science in mechanical engineering and received his Master of Science in mechanical engineering from the University of Houston.
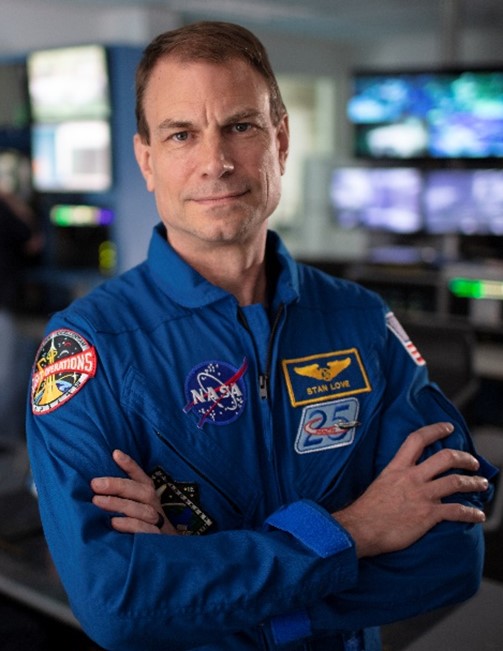
Stan Love
Lead Capsule Communicator
The capsule communicator, or capcom, ensures crew in space receives clear and concise communication from the teams supporting them on the ground. NASA astronaut Stan Love will serve as the lead capcom for Artemis II. Love flew aboard space shuttle Atlantis on the STS-122 mission and has acted as capcom for more than a dozen space station expeditions. He is also part of the astronaut office’s Rapid Prototyping Lab, which played a key role in development of Orion’s displays and controls.
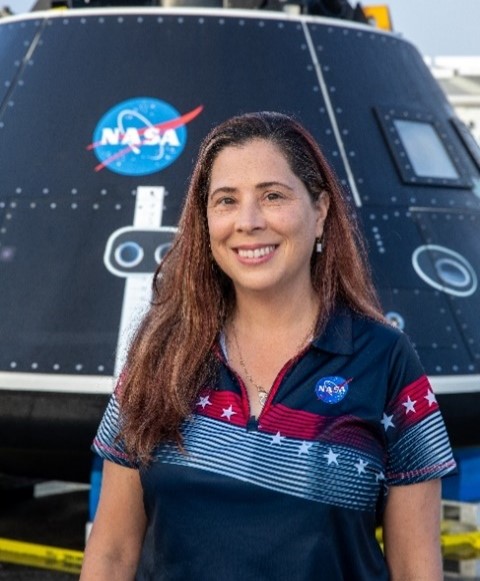
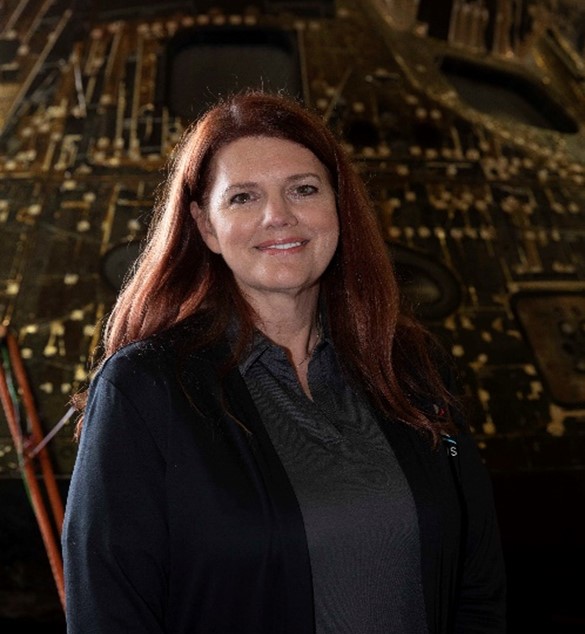
Lili Villarreal
Landing and Recovery Director
Liliana Villarreal is the Artemis II landing and recovery director. She is responsible for leading NASA’s efforts for nominal and contingency recovery of astronauts and Orion hardware for Artemis crew missions. Prior to her current position, she was operations flow manager in the Exploration Ground Systems Program, responsible for the overall management, planning, integration, and execution of all operational ground and flight hardware activities required to support Artemis missions. Villarreal also served as the mission operations branch chief under the operations test and management division of EGS for two years. Prior to the branch chief role, she served as manager of the spacecraft and offline operations team, responsible for the offline operations of the Orion spacecraft and the ICPS.
Lead Contractors and Suppliers
Industry Partners
NASA has several prime contractors for Artemis II, including Amentum, Boeing, Lockheed Martin, L3Harris, and Northrop Grumman.
More than 3,800 suppliers across 49 states contribute to NASA’s Artemis campaign. With NASA investments, additional U.S. companies, including small businesses, are advancing the operations and systems needed to live and work on the Moon.
NASA’s prime contractor supporting Exploration Ground Systems for Artemis II is Amentum of Chantilly, Virginia. Amentum is responsible for development and operations of flight vehicle components and has helped NASA to upgrade facilities and ground equipment at Kennedy to prepare for the test flight.
Lockheed Martin is the lead contractor for the design, development, testing, and production of the Orion spacecraft for NASA’s Artemis missions.
NASA’s prime contractors for SLS include L3Harris, Boeing, and Northrop Grumman. L3 Harris manufactures SLS’s four RS-25 engines. Boeing manufactures its core stage, and Northrop Grumman manufactures SLS boosters. United Launch Alliance has provided the interim cryogenic propulsion stage under contract with Boeing.
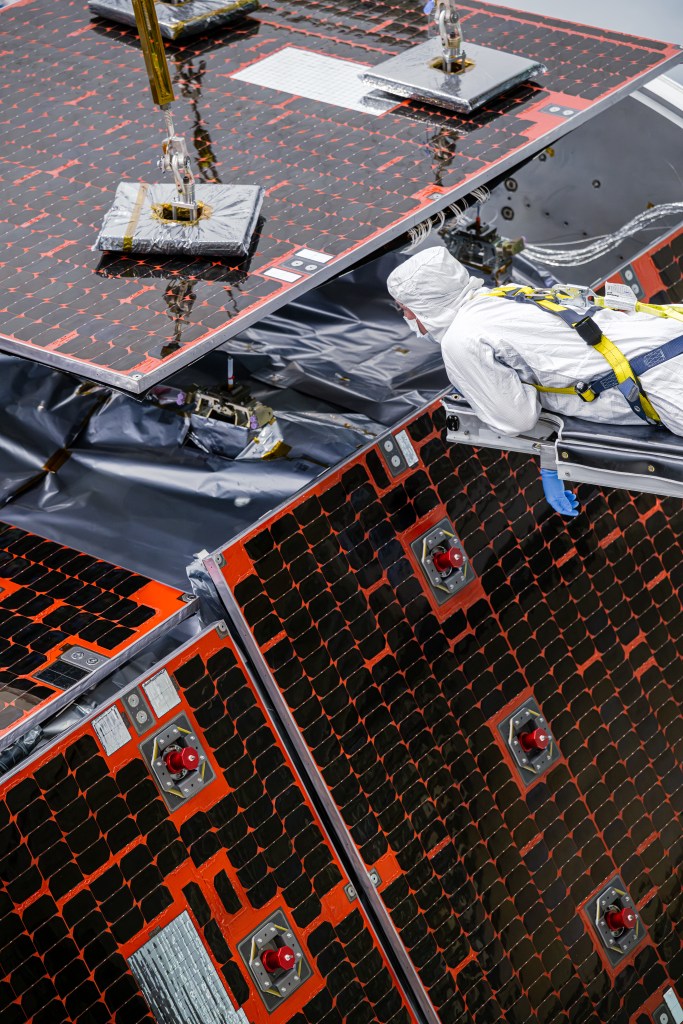
Orion’s European Service Module is provided by ESA and built by its main contractor, Airbus. Workers across 10 European countries and the United States supply components for the service module, including Germany, Italy, Switzerland, France, Belgium, Sweden, Denmark, Norway, Spain, and the Netherlands. The Artemis II service module was assembled at Airbus facilities in Bremen, Germany, before being shipped to NASA.
NASA’s Office of Communications Contacts
NASA Artemis II Media Request Form
To better serve media covering the Artemis II mission, NASA has created a dedicated request portal. Media can use the NASA Artemis II Media Request Form to specify story focus and needs to streamline the inquiry.
Artemis
Exploration Systems Development Mission Directorate
- James Gannon, 202-664-7828, james.h.gannon@nasa.gov
- Rachel Kraft, 202-365-7575, rachel.h.kraft@nasa.gov
- Lauren Low, 202-431-3871, lauren.e.low@nasa.gov
NASA’s Kennedy Space Center
- Tiffany Fairley, 321-867-7986, tiffany.l.fairley@nasa.gov
- Antonia Jaramillo, 321-501-8425, antonia.jaramillobotero@nasa.gov
- Madison Tuttle, 321-861-0493, madison.e.tuttle@nasa.gov
NASA’s Johnson Space Center
- Chelsey Ballarte, 281-483-5111, chelsey.n.ballarte@nasa.gov
- Courtney Beasley, 281-493-5111, courtney.m.beasley@nasa.gov
- Brandi Dean, 281-483-5111, brandi.k.dean@nasa.gov
- Gary Jordan, 281-483-5111, gary.j.jordan@nasa.gov
- Kenna Pell, 281-515-2069, kenna.m.pell@nasa.gov
- Anna Schneider, 202-702-6140, anna.c.schneider@nasa.gov
- Shaneequa Vereen, 281-792-7441, shaneequa.y.vereen@nasa.gov
NASA’s Marshall Space Flight Center
- Jonathan Deal, 256-961-3646, jonathan.e.deal@nasa.gov
- Corinne Beckinger, 256-975-6798, corinne.m.beckinger@nasa.gov
Science Mission Directorate
- Molly Wasser, 240-419-1732, molly.l.wasser@nasa.gov
Partners
Airbus Media Relations
- Ralph Heinrich, +49 171 304 9751, ralph.heinrich@airbus.com
Amentum Communications and Media Engagement
- Ellen Sharkey, 321-867-4380, ellen.e.sharkey@nasa.gov
- Katie Frakes, 321-289-7863, katie.j.frakes@nasa.gov
Boeing Media Relations
- Megan Gessner, 256-640-3036, megan.gessner@boeing.com
Canadian Space Agency
- Media Relations, 450-926-4370, asc.medias-media.csa@asc-csa.gc.ca
ESA (European Space Agency) Communication Programme Office for Human and Robotic Exploration
- Cyrielle Bouju, cyrielle.bouju@esa.int
ESA Editor for Human and Robotic Exploration
- Marie Deschamps, marie.deschamps@ext.esa.int
ESA Media Relations
- Ninja Mennings, media@esa.int
Lockheed Martin Communications
- Gary Napier, 720-224-7955, gary.p.napier@lmco.com
L3 Harris
- Mary Engola, 571-289-1371, mary.engola@L3Harris.com
- Todd McConnell, 561-302-8358, Todd.McConnell@L3Harris.com
Northrop Grumman
- Kendra Kastelan, 385-232-0297, kendra.kastelan@ngc.com
United Launch Alliance Senior Manager, Strategic Communications
- Julie Arnold, 321-423-4594, Julie.a.arnold@ulalaunch.com
Additional Resources
Media Resources
Artemis: https://www.nasa.gov/humans-in-space/artemis/
Artemis I: https://www.nasa.gov/content/artemis-i-media-resources
Artemis II: https://www.nasa.gov/mission/artemis-ii/
Orion: https://www.nasa.gov/humans-in-space/orion-spacecraft/
Space Launch System: https://www.nasa.gov/humans-in-space/space-launch-system/media-resources/
Exploration Ground Systems: https://www.nasa.gov/humans-in-space/exploration-ground-systems/
Social Media Links
NASA
X: @nasa
Facebook: NASA
Instagram: NASA
YouTube: @NASA
Tumblr: NASA
Artemis
X: @nasaartemis
Facebook: NASAArtemis
Instagram: @nasaartemis
Crew
YouTube: https://www.youtube.com/crew
Facebook: NASA Astronauts
Instagram: @nasaastronauts
Reid Wiseman
Instagram: @astro_reid
X: @astro_reid
Christina Koch
Instagram: @astro_christina
Victor Glover
Instagram: @astrovicglover
Jeremy Hansen
Instagram: @astrojeremy
Kennedy Space Center
X: @NASAKennedy
Facebook: https://www.facebook.com/NASAKennedy/
Instagram: https://www.instagram.com/nasakennedy/
Flickr: https://www.flickr.com/photos/nasakennedy/
YouTube: https://www.youtube.com/user/NASAKennedy
Johnson Space Center
Facebook: https://www.facebook.com/NASAJSC
Instagram: https://www.instagram.com/nasajohnson/
Flickr: https://www.flickr.com/photos/nasa2explore/
YouTube: https://www.youtube.com/user/ReelNASA
Marshall Space Flight Center
Facebook: https://www.facebook.com/nasamarshallcenter
Instagram: https://www.instagram.com/nasa_marshall