


Introduction
The Hinge is a versatile OpenVSP component that enables multiple connection types within your model. Far more than a clever Blank, the Hinge facilitates both translation and rotation about an axis that may be described using XForm rotations, vectors, offsets, or surface references. Furthermore, multiple Hinges may be linked together or even programmed using Advanced Links to create complex kinematics within your parametric geometry. This video will provide an introduction to the Hinge component and describe a few of its functions.
An OpenVSP Hinge can represent pins, sliders, rods, motors, tracks, and more. However, it is one of the very few components that don't have mass properties built-in.

Connection Types
The Hinge component enables multiple types of connections that are analogous to mechanical components in the real-world. For example, pure translation is akin to a slider while pure rotation is similar to a pin. A combination of translation and rotation would be similar to a cylinder connection. This video describes how to implement these types of connections in your model.
Hinges are great when you are ready to think about not only what your model looks like, but how it will mechanically function. Understanding how components will interact under motion can be critical to the success of your design.
Controlling Motion
Controlling Hinge motion is performed by changing the values under the Motion tab in the Hinge component window. For both translation and rotation, the current displacement or angle may be set along with maximum and minimum values for each. Clicking the Max/Min buttons will set the corresponding value to the current angle or displacement. Clicking the Range button will set the minimum and maximum travel of the slider range to the defined min/max settings. This way, you can move through the entire motion envelope using one drag of the slider.
Being able to quickly set the ranges of motion of your Hinge and manually slide from one extreme to another enables an intuitive, visual elegance to your model.
Axis Selection
Users should be aware of the difference between the component build axis (usually the Hinge X-axis) and the rotation axis. The Hinge rotation axis may be selected under the Orient tab from the X, Y, or Z Hinge axes. Think of the hinge axis as choosing a roll (X), pitch (Y), or yaw (Z).
There are lots of ways to define Hinge orientation in OpenVSP. Experiment to find what works best for you.
Orientation with XForm Rotations
The Hinge orientation may be defined using the rotations in the XForm tab. Use the X, Y, and Z rotations to point the Hinge axis in the desired direction and choose the appropriate rotation axis for your motion.
Using XForm rotations is very similar to rotating or translating with a Blank.
Orientations with Direction and Reference Vectors
The Hinge may be oriented using a direction vector from the Hinge location. Note that the entries in the Abs or Rel values do not have to be unit normal vectors and will be automatically normalized in the inactive fields. There is a difference between the Reference under the Vectors heading in the Orient tab and the selected Reference Vector at the bottom of the Orient tab. The Reference direction under the Vectors header determines which Hinge axis is used to define the zero angle deflection. The Reference Vector at the bottom of the Orient tab is the global X, Y, or Z direction where the Reference is oriented. For example, if X is the rotation axis and Y is the Reference (zero) direction, choosing Z as the Reference Vector will align the green Y axis with the global Z direction.
Honestly, this one's a little hard to explain in writing. Have a look at the video and experiment with different vector settings and you'll catch on. It took me a while.
Orientation with Offset
The Hinge orientation may be set using a point offset from the Hinge location in either relative distances or in the absolute frame. Using relative offset is very similar to using a vector in that the axis is always pointing in the same direction from the Hinge location. However, using absolute offset or point will make the Hinge axis always point to the same location in space, regardless of where the Hinge is located.
Leveraging offset orientation in absolute coordinates is a really interesting way of keeping your hinge pointed at the same location regardless of its own position. Think of this as a way of automatically having a pointing vector at some location from any point in space.
Orientation with Surface Locations
A Hinge axis may be oriented by directing the axis toward a specific surface location on a Parent component. Note that you may choose SURFPT as the orientation option without having a Parent but the U/W settings will have no effect. In that case, you will use the offset values to determine direction. When the Hinge is a child of some component and SURFPT is selected, the U/W location on the parent surface is used to direct the Hinge axis along with any particular offset the user chooses. Note that the Hinge does not have to be *attached* to the Parent in order to use the reference points. This means that a Hinge may reference a surface location without being attached to or even placed near the Parent.
Consider the use case of a flap hinge. The inboard end of the hinge can be placed offset from the wing surface at one location and the outboard end can be similarly defined from another surface point. Regardless of your wing design, the hinge orientation and placement will automatically update.
Orientation with Surface Directions
A Hinge may be oriented using a U, W, or N direction relative to some reference location on a parent component. Choosing the reference UW location on the Parent will be illustrated by a moving red point on the surface. The user may then choose between the surface U direction, W direction, or Normal (N) direction. Note that the Hinge does not have to be *attached* to the Parent in order to use the reference points. This means that a Hinge may reference a surface direction without being attached to or even placed near the Parent.
Defining the orientation by surface direction implies that no matter how your parent geometry changes, the hinge orientation will automatically update as well.
Combining Hinges for Complex Motion
Multiple Hinges may be combined in nested Parent-Child relationships to form multi-jointed mechanisms for complex motion. If the user simply wishes to have presets for the various angles to snap between different configurations, then the Variable Preset feature under the OpenVSP Model menu should be used. However, complex kinematics may be achieved by linking the Hinge angles and translations to User Parameters so that the physical range of motion may be simulated with very few inputs and actions. Furthermore, a user may wish to enforce programmed, complex relationships among nested or grouped Hinges by implementing Advanced Links.
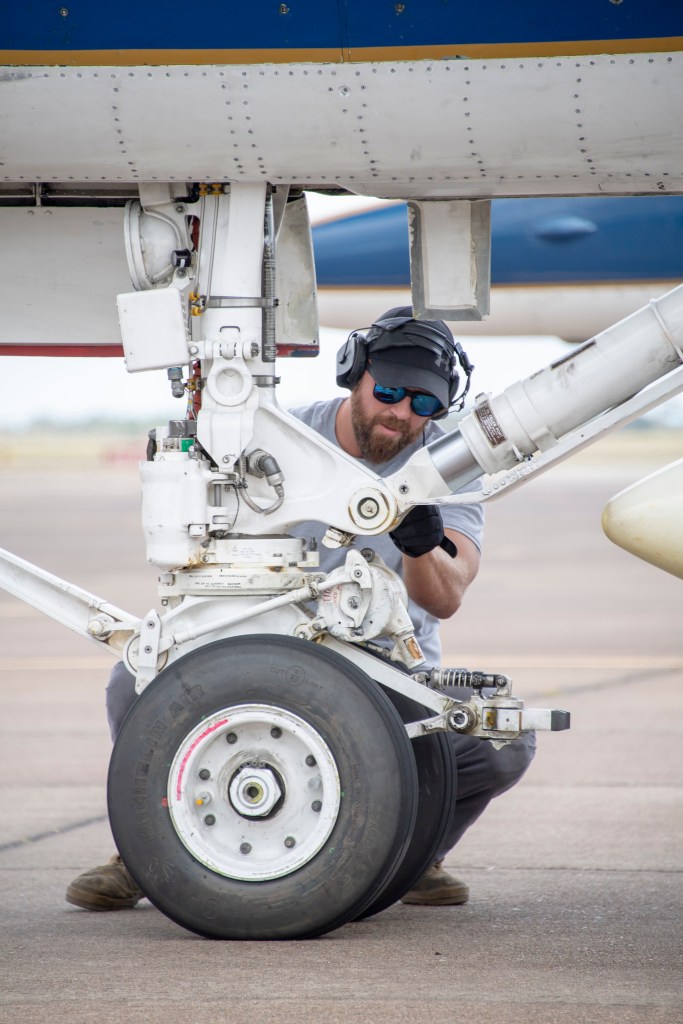
Landing gear deployment, multi-element flaps, satellite solar array origami… the applications are endless.