


Fuselage Introduction
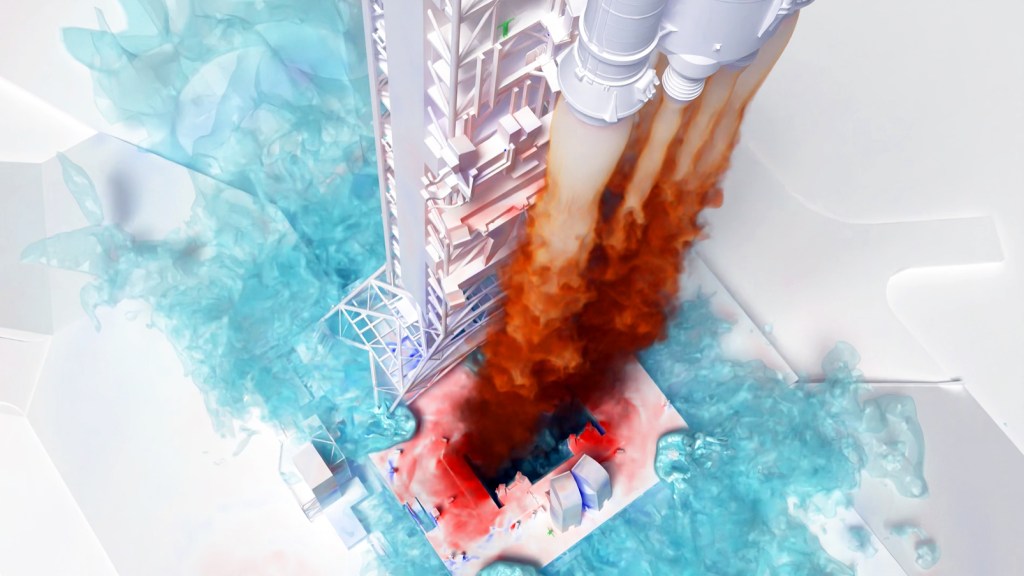
The Fuselage is one of the fundamental components in OpenVSP and is obviously useful in modeling aircraft fuselages as the name implies. However, the uses of this versatile component are not limited to aircraft fuselage-like bodies. A Fuselage component is also equally useful in modeling rockets and launch vehicles, ballistic or powered projectiles, entry vehicles, nacelles, engine internals, nozzles, wind tunnels, pipes, tubes, pins, and rods… the applications are as numerous as they are variable.
One of the more common applications is to model an aircraft fuselage when the total fuselage length is known and the cross-sections are placed relative to that total length. For example, in an aircraft three-view drawing, typically the fuselage length is given but the dimensions of individual cross-sections are not.
Fuselage components may be best suited for matching an existing aircraft or design. However, the cross-section placement relative to overall length can make it complex to independently vary segments in design explorations. We recommend the Stack component for these operations.

Adding or Removing Fuselage Cross-Sections
Best practice with Fuselage components is to use as few cross-sections as necessary to achieve the desired shape and to leverage Skinning to create smooth, continuous curves. Cross-sections are typically placed at inflection points, at body section breaks, or at locations where Skinning alone will not achieve the desired shape. This tutorial demonstrates how to insert or remove Fuselage component cross-sections.
Positioning Fuselage Cross-Sections
Fuselage cross-sections are positioned in X, Y, or Z directions along the component body axes relative to the design length parameter. This tutorial demonstrates how to define cross-section positions when using a monotonic design policy by setting either a relative or absolute distance along the body.
Even if you set the position of a fuselage cross-section in absolute, dimensional lengths, the section remains defined according to the fuselage length. Changing the fuselage design length will move all of your cross-sections, no matter what.
Rotating Fuselage Cross-Sections
Fuselage cross-sections may be rotated about the component X, Y, or Z axes around the center of the cross-section. The locations where feature lines pass through the cross-section may also be rotated along the section curve by using the Spin parameter. In fact, Spin “rotates” the local W coordinate on the surface by the defined Spin amount.
This tutorial demonstrates how to enter the desired cross-section rotation angle in degrees and how to use Spin effectively. Note that Skinning controls the feature line curves passing through the section and the skinning angles are defined in reference to that section. This means that by rotating a cross-section, you also effectively alter the physical direction of the feature line. Spin further affects this by altering the curve location where the feature lines are placed.
Fuselage Cross-Section Types
This tutorial will demonstrate how to change the Fuselage cross-section type from one to another. Note that a Fuselage cross-section may be any of the available section types in OpenVSP, including airfoils, but that the implementation and placement of the section is different between Fuselages and Wings. Additional information about each section type is found in the Cross-Section Details content.
Fuselage Caps
Fuselage components may be closed at the nose or tail by leveraging end caps when the first or last cross-section is chosen to be open e.g., not a point or line. The user has access to several cap types including None, Flat, Round, Edge, and Sharp. If an open cross-section is chosen for an end section, applying caps ensures that the geometry is “watertight” and ready for analyses or tools that rely on solid geometries rather than surfaces. This tutorial demonstrates how to apply caps to a Fuselage component and how to adjust the cap tessellation.
Some CAD software will prefer the use of caps to close bodies rather than points or lines. If you find that you're having trouble importing OpenVSP geometry into CAD, caps could be a remedy.
Loop Fuselage Design Policy
By changing the Fuselage design policy from monotonic to loop, the first cross-section is enforced to be at the same location as the final section at 1.0 x design length. The final section is also forced to exactly match the design of the first section. This ensures that the component surface follows a user-defined loop and closes. Typical uses of this feature are to design “flow-through” nacelles, rocket nozzles, tubes/pipes, or turbojet/fan engine station internals. This tutorial demonstrates how to apply the loop design policy to a Fuselage component and some of the important aspects of modeling this way.
Be aware that Loop design policy does not automatically ensure that your surfaces are "right side out." Check the shaded view and update your Skinning parameters to ensure the positive side of the surface points in the desired direction.
Free Fuselage Design Policy
The free Fuselage design policy is similar to the loop policy except that any cross-section may be placed anywhere along the design length of the Fuselage component. This includes the first and last cross-sections which means that depending on the location of these sections, the actual physical length of the part modeled may be nowhere near the same length specified in design. As long as the user ensures that at least one section is placed at the 0.0 and 1.0 length positions, the design length and physical length will be similar. Exceptions are when Skinning forces the surface to loft forward of the 0.0 length position or aft of the 1.0 length position. Uses for this design policy include shaping engine nacelles with flat inlet and exits to be defined as boundary conditions for flow solvers. Freeform geometries are another application. This tutorial demonstrates how to use the free design policy and an example case.