


![Request for Information – Potential [Placeholder for Prize]](https://assets.science.nasa.gov/dynamicimage/assets/science/psd/solar/2023/09/s/solarsystem_0.jpg?w=1024)


Balance Inspection Instructions
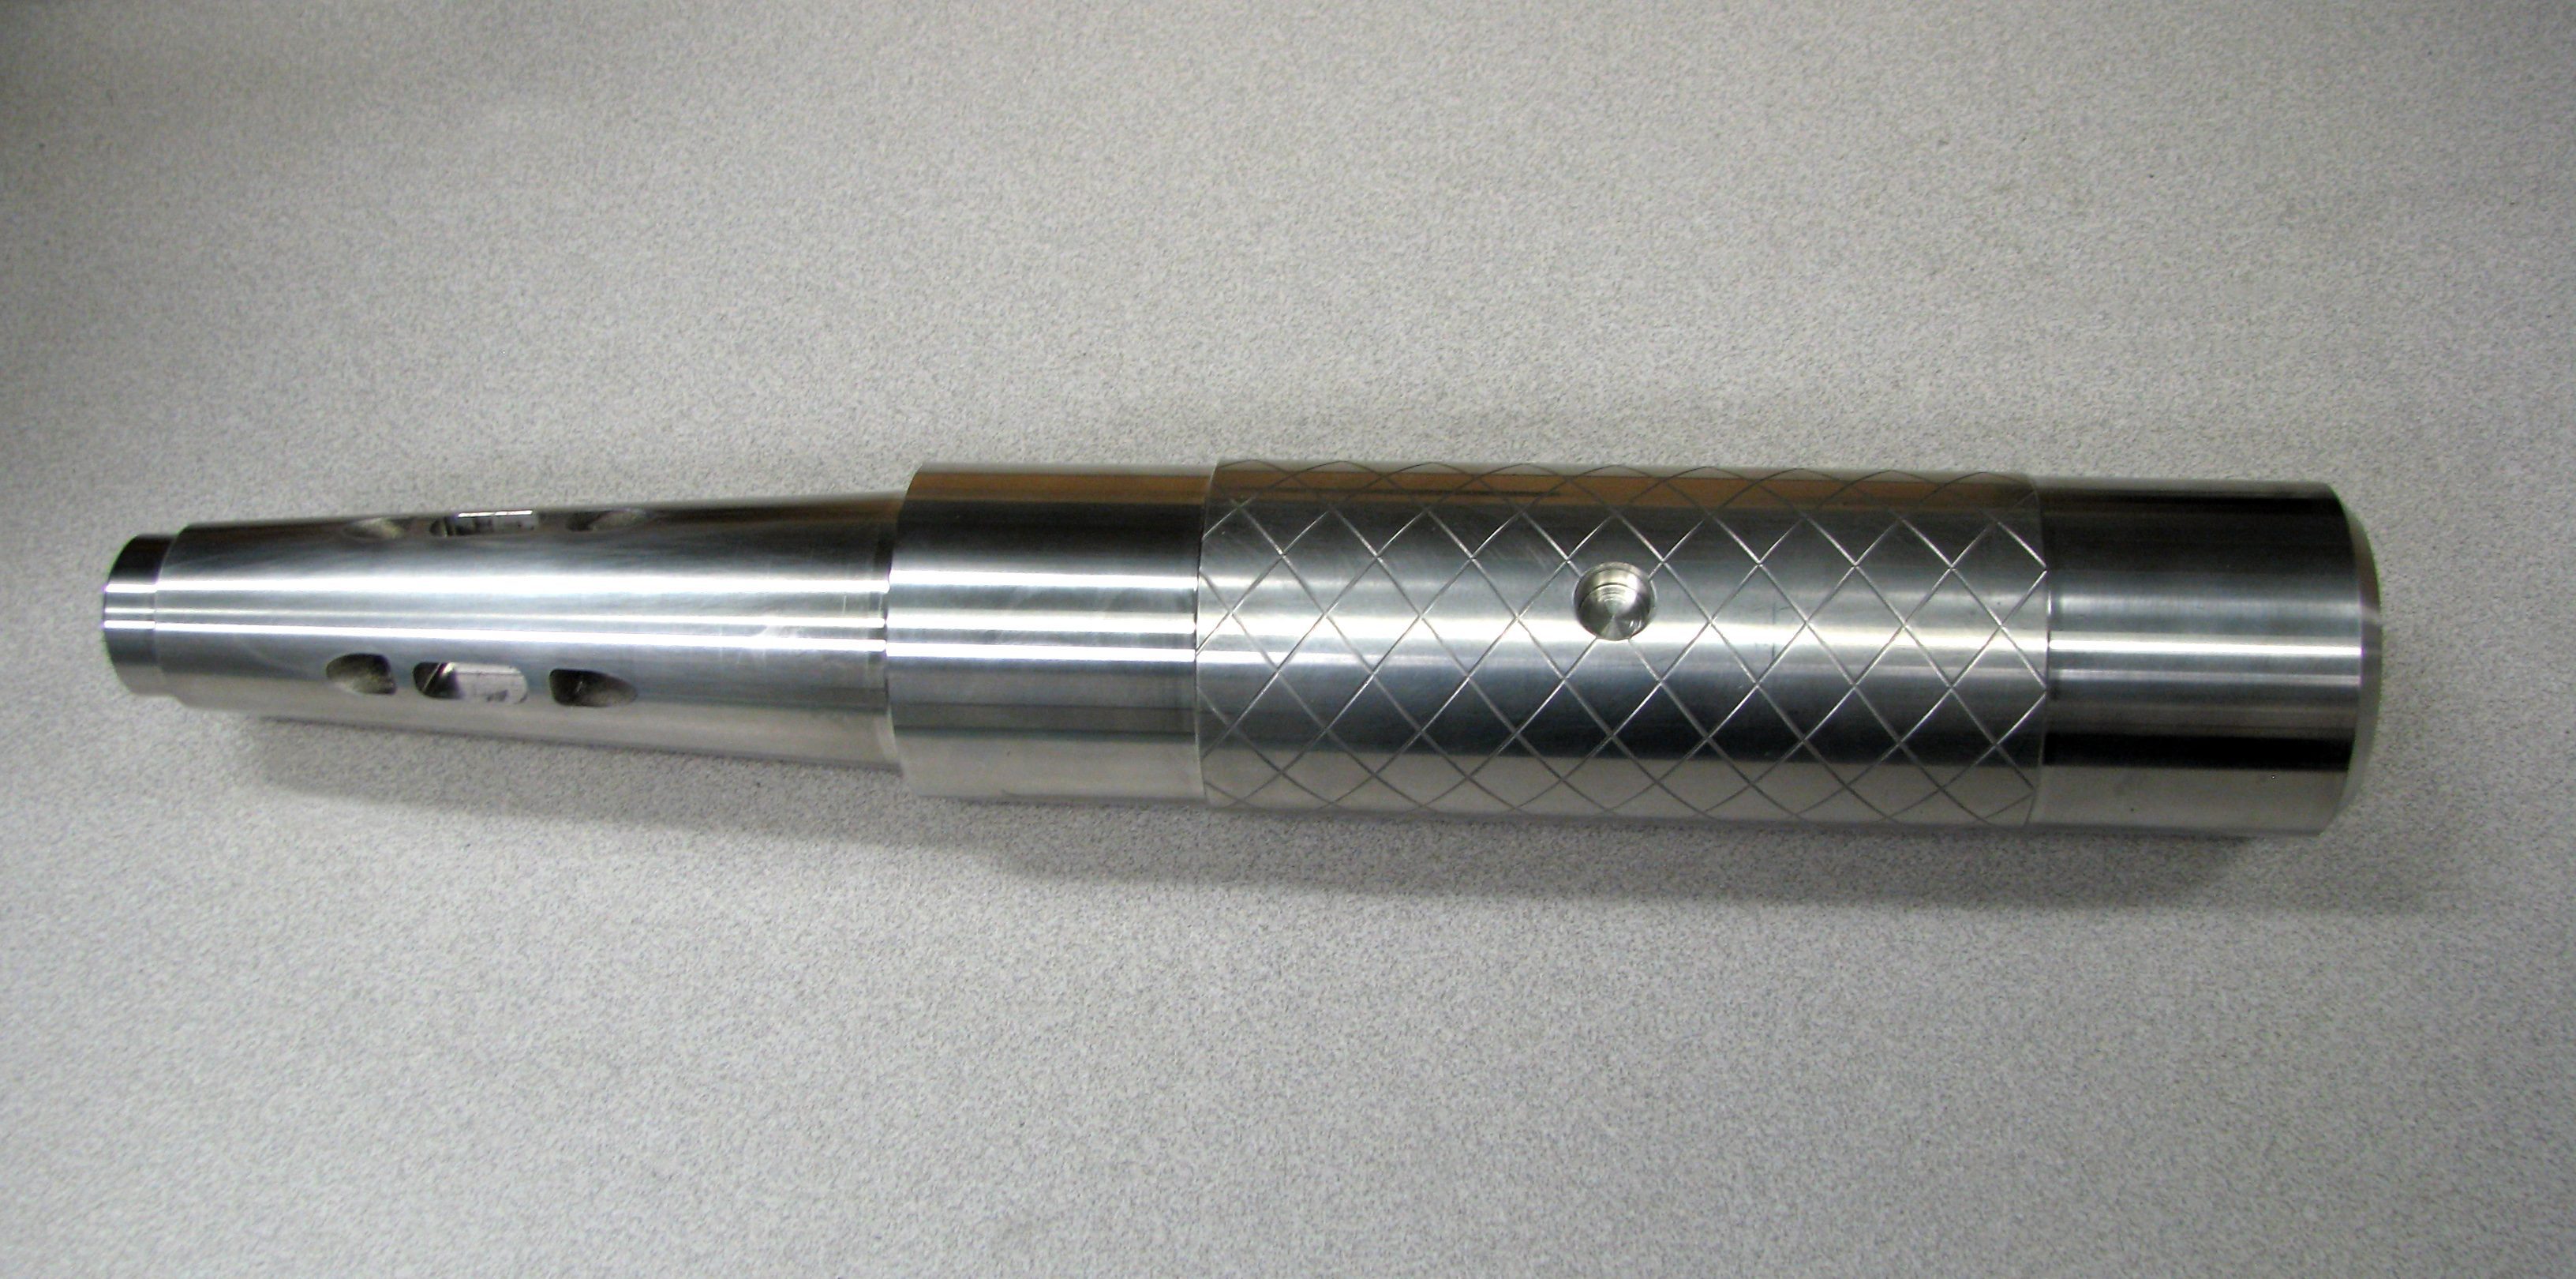
This is a basic instrumentation inspection of a balance to spot potential problems prior to installation into a wind tunnel or a calibration rig.
![]() Download Balance Inspection Form (MS Excel File)
Download Balance Inspection Form (MS Excel File)
![]() Download Balance Inspection Form (PDF File)
Download Balance Inspection Form (PDF File)
Reference Data
Complete as much information of the balance as possible. All balances have serial numbers, some have a inventory number, Ames uses EZ numbers to assist in inventory. NEMS number is another Ames property number. If a pin number was designated, then make a note. Not all balances have test names but if known, include it for reference.
Make note if balance cable is shielded or not. If possible measure length of cable.
Preliminary Mechanical Inspection
Perform a preliminary mechanical inspection of balance and look for defects. Check applicable box on form. There is a procedure for more thorough mechanical inspection which includes a taper inspection. Intent is to flag potential problems before further balance installation.
Taper Pin Inspection
Inspect all taper pins and make repairs as needed. GOOD indicates taper pin connections are satisfactory for balance installation. Otherwise make repairs and check the REPAIRED box.
Shunt Resistor
Resistance values of shunt resistors if supplied with balance. Measure with DVM and record exact value.
Wiring Color Code
Most balances use the indicated color code in parenthesis as the standard. However, indicate actual color code if different.
Resistance Check
Measure lead resistance for each gage, complete as much of table as possible. Some balances have Sense leads. The entries for “Exc to others” is to note if there are shorts or continuity between gage circuits. “Exc & case” checks for grounded conductors to the balance housing. Normally these will be infinite resistance. Only need to check for continuity with one gage wire to any other gage wires.
Also note type of DVM used along with serial number and calibration date.
Temperature Sensor(s) Inspection
Indicate type of sensor and provide identification of sensor wiring if known. Check for continuity and groundloop, examine if indicated temperature (using a temperature sensor indicator) is reasonable. GOOD indicates temperature sensor is satisfactory for balance installation. Otherwise make repair and check the REPAIRED block. BAD indicates that temperature sensor cannot be repaired at time of balance inspection.
Shunt Values
If known from previous calibration or wind tunnel test, note the data system output when shunt resistors are applied and the zero (no load) output. Delta shunt is the difference between applied shunt and zero.